Minecraft is an incredibly flexible game that allows for complete customization of gameplay. It is possible to add your own hand-crafted worlds to enhance the gaming experience. Server administrators can freely customize their servers, tailoring them to the preferences of a broader group of players. In this article, you will learn how to add your own world to your server in our game server panel.
How to add your own world to your Minecraft server
First, you need to stop your server. Go to the game server panel and select your Minecraft server. Open “Console” tab and select “Stop”.
Go to the “Files” tab, which will allow you to manage Minecraft server files. Here, find the “world” folder.
If you want to save your current world for later, select “world” folder. Below you will see “Archive” option – click on it. Archived file should have .tar.gz extension. In the right side of this file click on three dots and select “Download”.
Delete the existing “world” folder – select it in the list, then select the three dots to the right of the file and click “Delete”.

Now it’s time to prepare a folder with your own world. Remember that it must be named the same as the previous one, i.e. “world”.
Upload a previously prepared folder. In the game server panel, select the “Upload” option to upload the folder to your server.

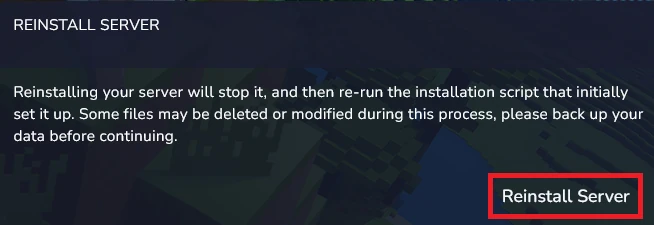
To commit your changes, you need to reinstall your Minecraft server. Go to the “Settings” section where you will find the “REINSTALL SERVER” option.

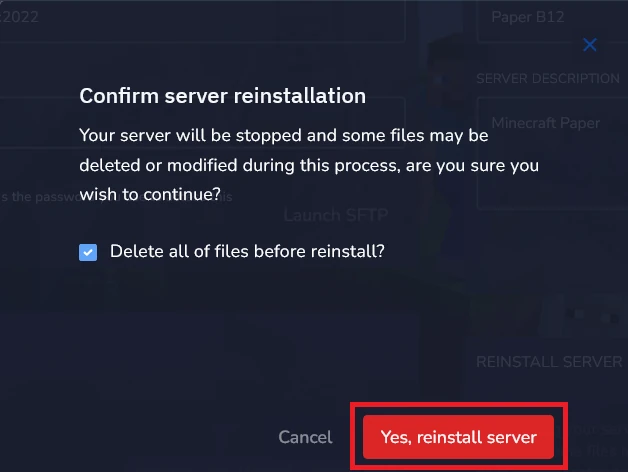
Reinstallation is an irreversible process, so in the new window you will have to confirm this action by clicking “YES, REINSTALL SERVER”.

We hope that our intuitive web interface has allowed you to manage your Minecraft worlds easily. If you want to ask us any questions, feel free to contact us via e-mail, ticket or live chat!
This tutorial will show you how to add Minecraft world to the server
