If you want, you can add a sub-user who will manage the account with you on our hosting website. Such a person will be able to receive a number of rights, such as the ability to receive e-mails, pay invoices and create tickets. In this guide you will learn how to add a sub-user, how to remove a sub-user and how to manage permissions.
Navigation
How to add sub-user
Adding a sub-user requires only a few steps:
1. Log in to your account.
2. Select “User Management” option.
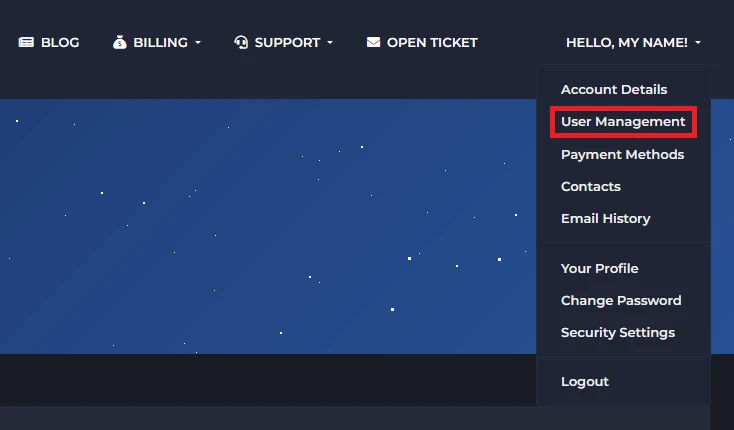
In the “User Management” section you will find all current users. You will also manage them here.

3. Invite new user.
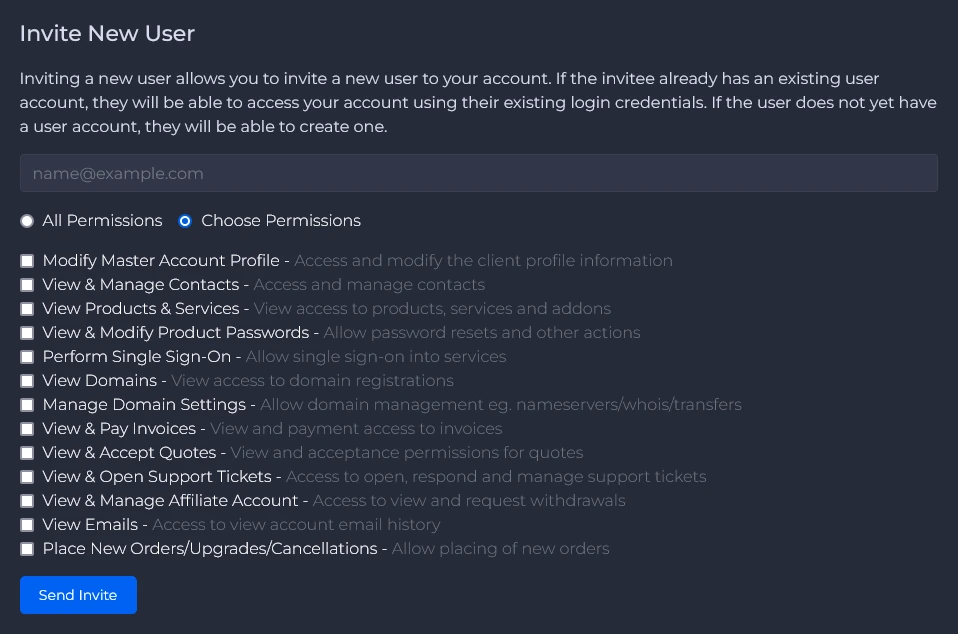
Below the “User Management” section, you will find the “Invite New User” section.
Here, enter the user’s e-mail address and select the scope of permissions. Click “Send Invite” to send an invitation to the new user.

If you do not want to grant the user all permissions, check “Choose Permissions”. Provide appropriate permissions using the checkboxes.
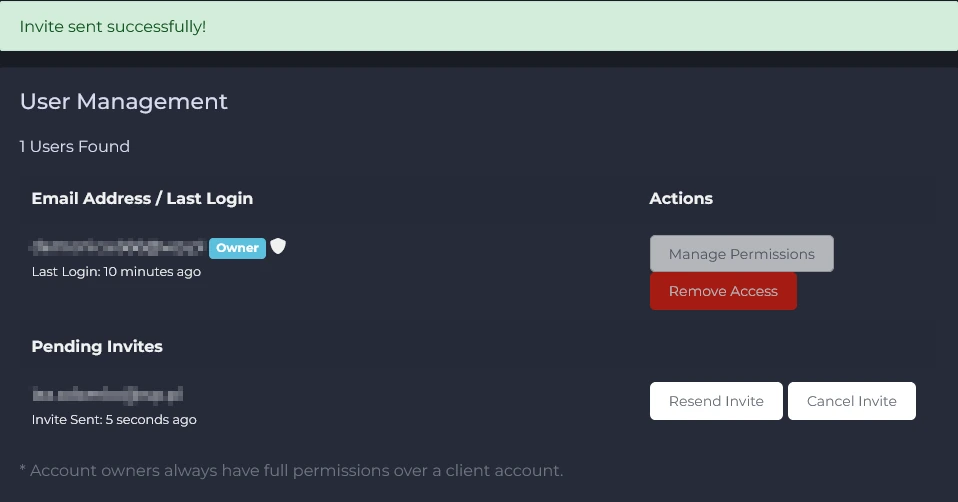
If the invitation is sent, you will see the “Invite sent successfully” message . Additionally, a new user will appear. Until user accepts the invitation, you can resend the invitation (Resend Invite) or cancel it (Cancel Invite).
The user to whom you sent the invitation should receive an e-mail message from “Servers4Gamers”. In the message, the user will find a link redirecting to our website. After logging in (or creating a new account), user will see the following message:

Clicking “Accept Invite” will grant the user the selected rights.
How to delete sub-user
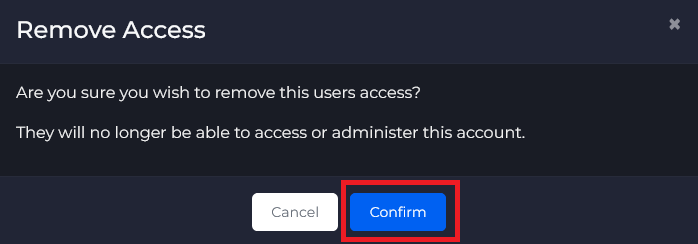
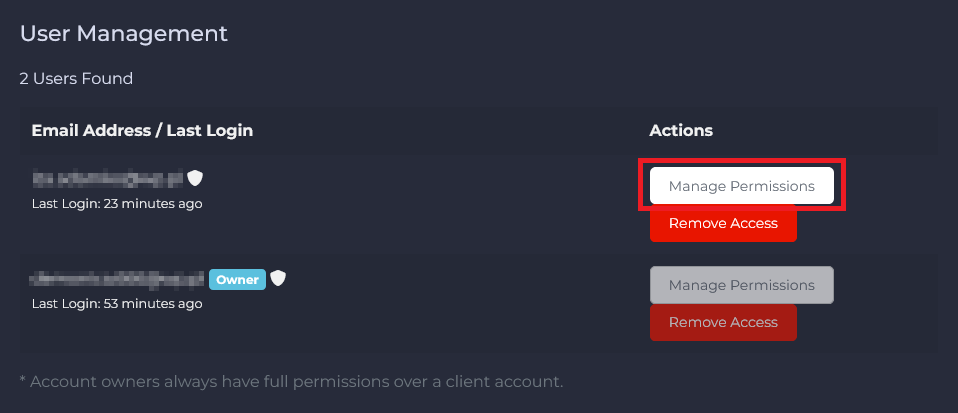
If you want to remove a user, go to the “User Management” section and click “Remove Access”.
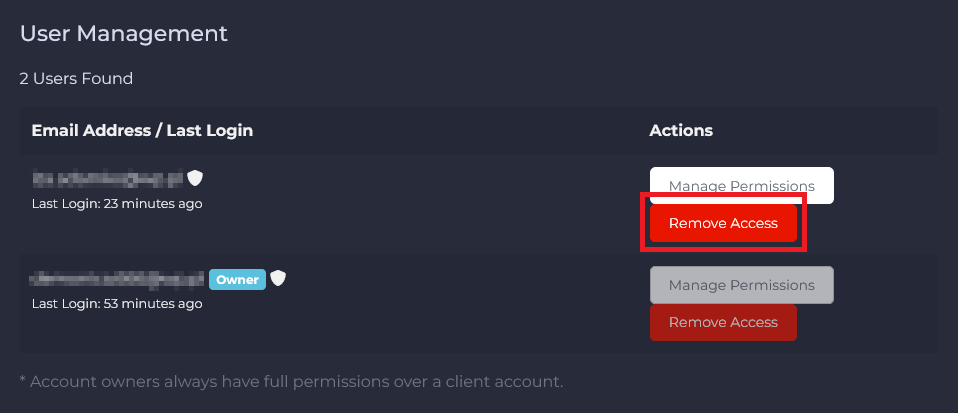
Click “Confirm” to confirm changes.
How to change sub-user’s permissions
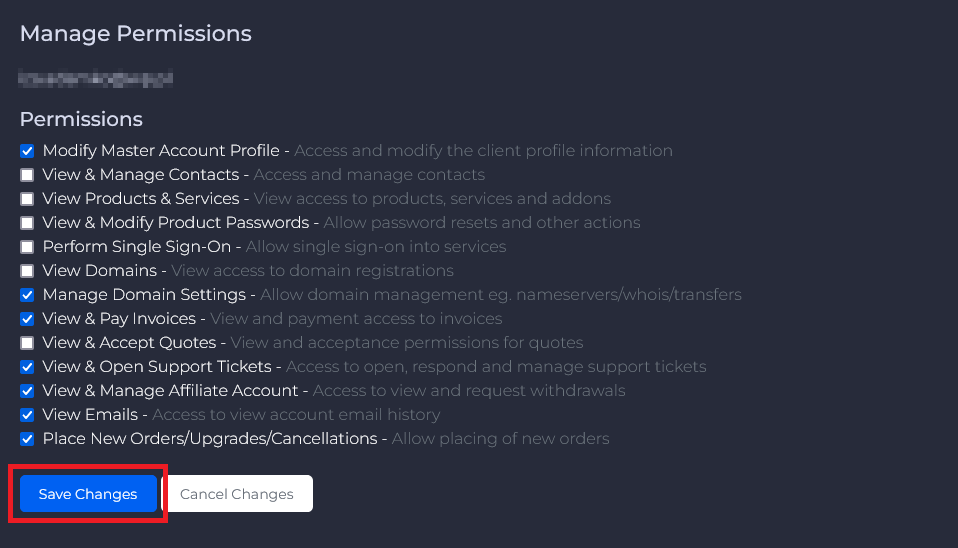
If you want to change user permissions, select “Manage Permissions”.
Check or uncheck the selected permissions and click “Save Changes”.
We hope that our intuitive web interface has allowed you to manage sub-users easily. If you want to ask us any questions, feel free to contact us via e-mail, ticket or live chat!
