Installing mods on a PixARK server offers numerous benefits that enrich gameplay and enhance the overall gaming experience. They allow for full customization of game rules, introducing new features, resources, and mechanics. With mods, you can adjust maps, add new biomes, or modify the local ecosystem. Additionally, mods can significantly improve graphics and the user interface, making the game easier and more user-friendly. In this article, we will explain how to install mods on a PixARK server using our intuitive control panel.
How to install mods
Below we will show you two methods for installing mods on your PixARK server.
First method
1. Select modification
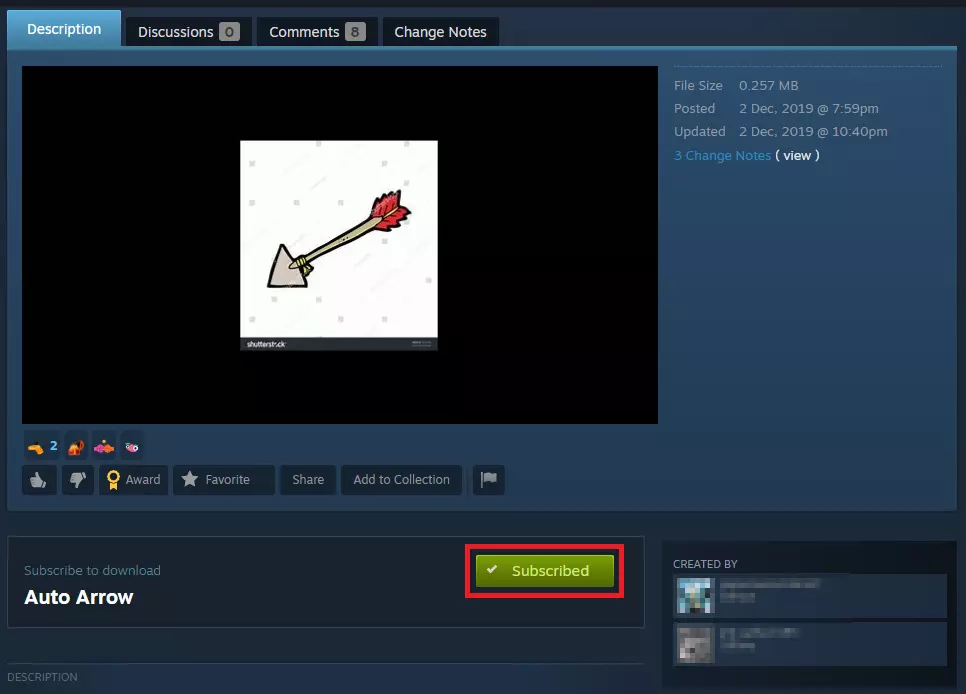
Go to the Steam platform and select PixARK “Workshop”. Search for modification you want to install on your server.
2. Subscribe modification
Below mod description select “Subscribe” button.

3. Navigate modification folder
On your local computer navigate SteamLibrarysteamappsworkshopcontent593600. In this folder you should see your Mod ID:

4. Upload Mod ID folder into server files
First, compress the mod ID folder into a .zip file. Once you have done the .zip file, go to the server panel and select “Files” tab.
Navigate “Mods” folder: /home/container/ShooterGame/Content/Mods
Upload recently compressed folder via FTP connection and unarchive it.
5. Restart your server
Go to the “Console” tab and click on “Restart” button.
Second method
1. Navigate server files
Open server panel website in your favorite browser and login with your credentials. Select your PixARK server from the server list and click on it. You should be redirected to the “Console” tab, so change it to the “Files” tab.
2. Enter #swd directory
Once you have access to the server files, try to find “#swd” folder and go inside.

3. Create a new file
Once you are in a “#swd” folder, click on a “New File” button to create a new file.
4. Enter mod IDs
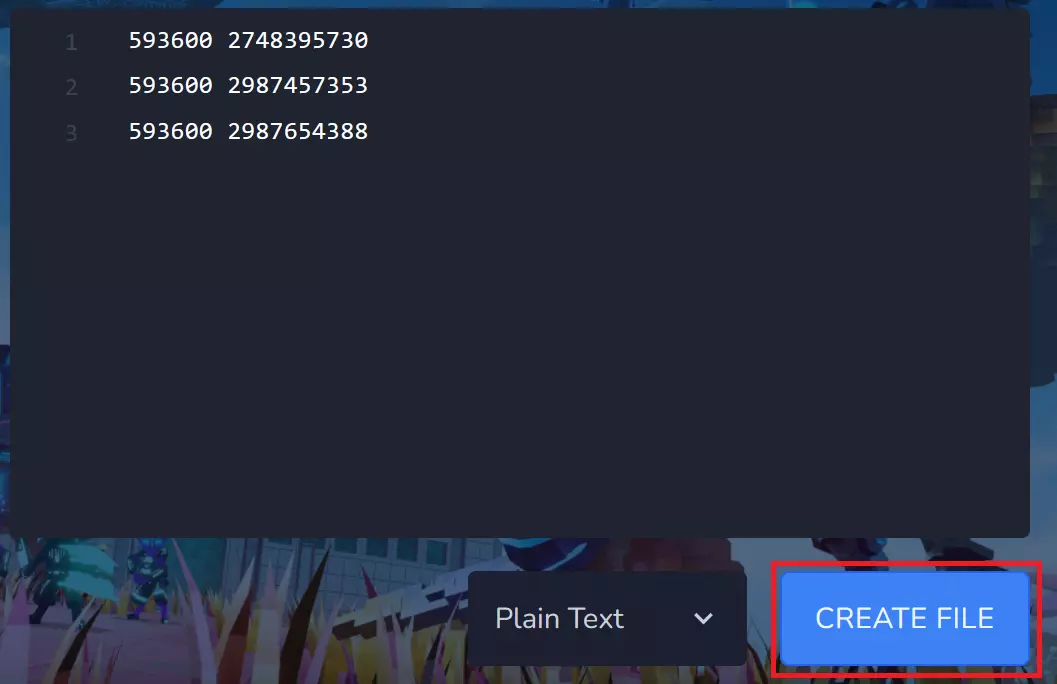
After clicking on “New File” button you should see new text window. In the separated lines type in PixARK ID and Mod ID like on the image below.

5. Save changes
To save the created file select “CREATE FILE” button in the right bottom corner. You should be redirected to the new floating window.
6. Name previously created file
Enter the file name “mods.txt” in the appropriate place. Approve this choice by clicking on “CREATE FILE” button.

7. Install #swd mod
Once you are in a server panel, change tab to the “Mods”. You should see a #swd mod, so just click on the “INSTALL” button.

8. Restart your server
Come back to the “Console” tab and click on “Restart” button to restart your server.
WARNING! Installing mods with this method must be done on running server!
We hope that our intuitive web interface has allowed you to manage your PixARK server easily. If you want to ask us any questions, feel free to contact us via e-mail, ticket or live chat!
This tutorial will show you how to install PixARK mods

