
Modifications for the Squad game are a fascinating area for players and administrators, allowing them to customize and enrich the original gaming experience. Squad, as a realistic tactical shooter, offers many mods that significantly affect the way the game looks and functions. It is possible to change the interface, add new maps and scenarios, introduce new units, vehicles, and equipment. Modifying sound and graphics is also possible, which greatly enhances immersion. In this guide, we will describe step by step how to add modifications to your Squad server using our game server panel.
How to install mods on a Squad server
WARNING! Installing mods with this method must be done on running server!
First method:
1. The first step you need to take is to launch the Steam platform and enter the “Workshop” section. Find the modification you are interested in here.
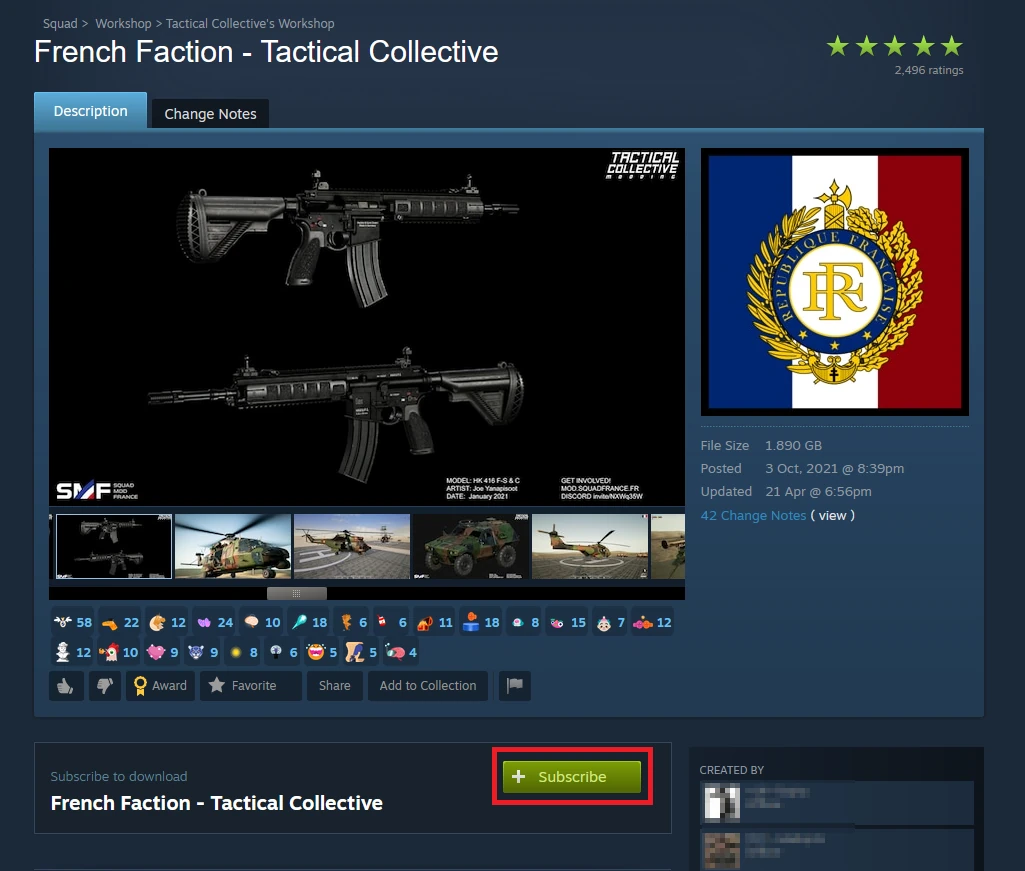
2. Once you have found the mod you want to install, select the “Subscribe” button to subscribe to it.
3. The next step will be to enter the Squad game folder on your local computer. To find it, follow this path:
<root steam folder>/steamapps/workshop/content/<393380>In this folder you will find a subscribed folder with the same name as “Mod ID”.
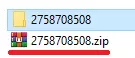
4. Compress your folder with Mod ID as .zip.
5. Once you have prepared the modification folder, you can go to the files of your Squad server. Open the game server panel page, select the Squad server and open the “Files” tab.
6. Go to the “Mods” folder where you will be able to upload selected modifications.
/home/container/SquadGame/Plugins/Mods
7. Once you are in the “Mods” folder, you will be able to upload the .zip file using the “Upload” button.

If you are unable to upload a large modification (over 100mb), upload it using the SFTP protocol (login details can be found in the “Settings” tab).
8. Once you have uploaded the compressed mod folder to your Squad server, unarchive it using the “Unarchive” option.
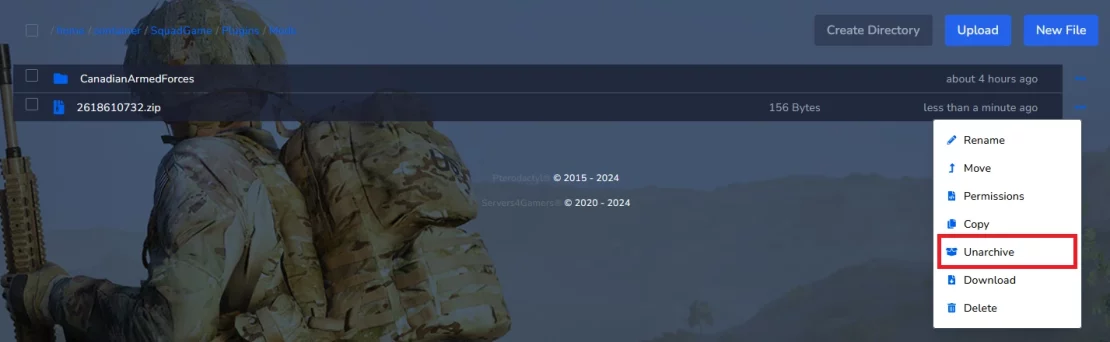
Remember to delete the previously uploaded folder with the .zip extension
9. To confirm all changes, restart your Squad server. This is possible after selecting the “Restart” option in the “Console” tab.
Second method:
1. Navigate game server files – just go to the game server panel and select “Files” folder.
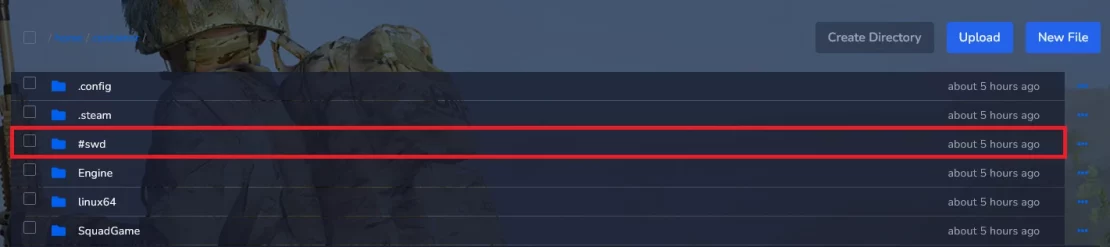
2. In the main folder, navigate to “#swd”.
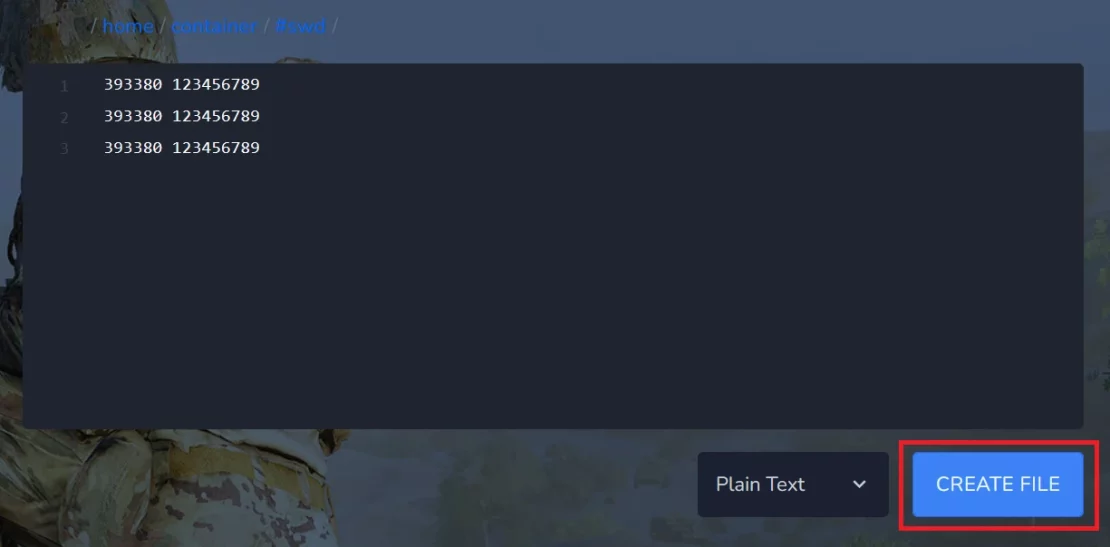
3. Once you’ve entered the “#swd” folder, it’s time to create a new file. To do this, select the “New File” option, which you will find in the upper right corner of the window.

4. You should see new text window. In separated lines enter Squad ID from Steam Workshop and Mod ID like on the image below.
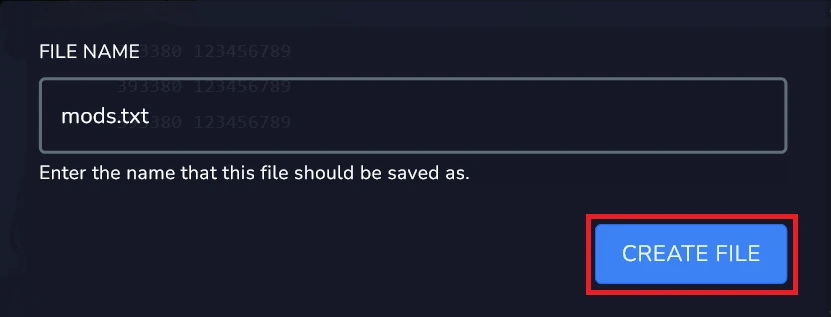
5. After creating a new text file, you will still need to give it a name. In the new window, enter the name “mods.txt”, then select “CREATE FILE” again.
6. Now, the mod bar should appear in our game server panel in the “Mods” tab. This way, you can install then with one click from the panel.

7. To install selected modifications, select the “Install” option.
8. To commit changes made to the server, you must restart your Squad server. Go to the server console – on the right you will find the “Restart” option.
We hope that our intuitive web interface has allowed you to install Squad mods easily. If you want to ask us any questions, feel free to contact us via e-mail, ticket or live chat!
This tutorial will show you how to install Squad mods
