


Plugins for Minecraft servers are tools that significantly expand the capabilities and functionalities of the standard game. They allow for the modification and personalization of experiences during gameplay, which is why they are often used by game server administrators. Plugins enable the introduction of new features, such as an internal economy in ‘Economy’, which allows for the creation and management of virtual currency. Additionally, plugins enable the creation of entirely new game modes, expand creative possibilities, facilitate easier community management, and much more. In this guide, you will learn how to easily manage plugins in our game server panel.
How to install Minecraft plugins
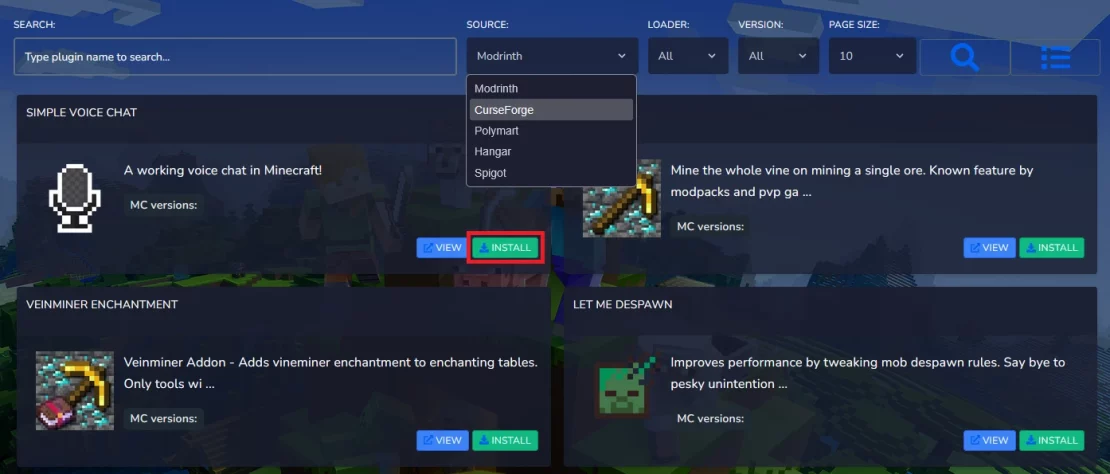
1. Go to the game server panel and open the “Plugins” tab, then search for a plugin by its name. If you want to browse the available plugin database, remember that you can use filters that allow you to view plugins from different sources, loaders, and for various versions.
2. Click “Install“.
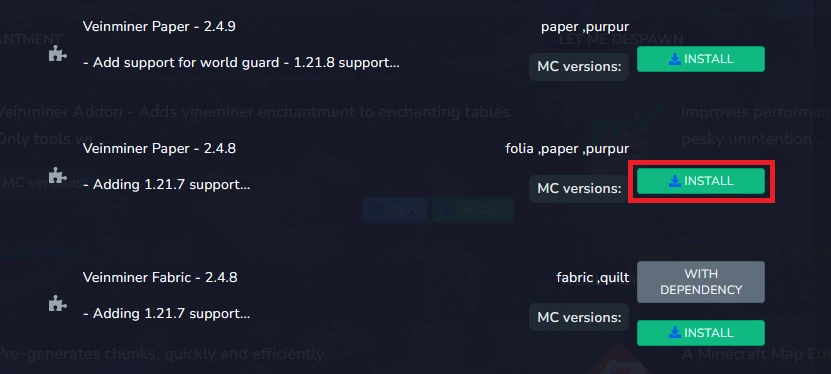
3. Select the appropriate version of the plugin and click “Install” again.
4. Go to “Console” and restart the server to apply the changes.
How to uninstall Minecraft plugins
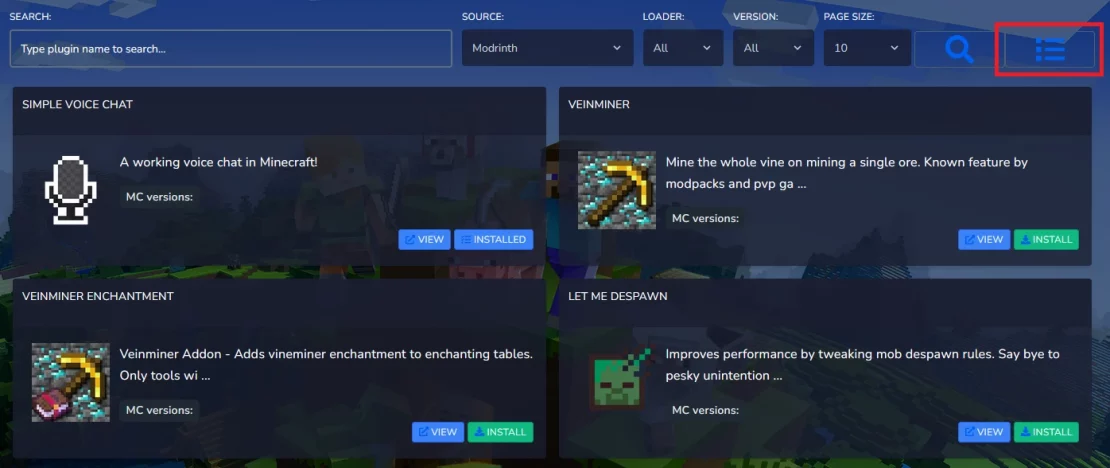
1. Go to the installed plugins management section.
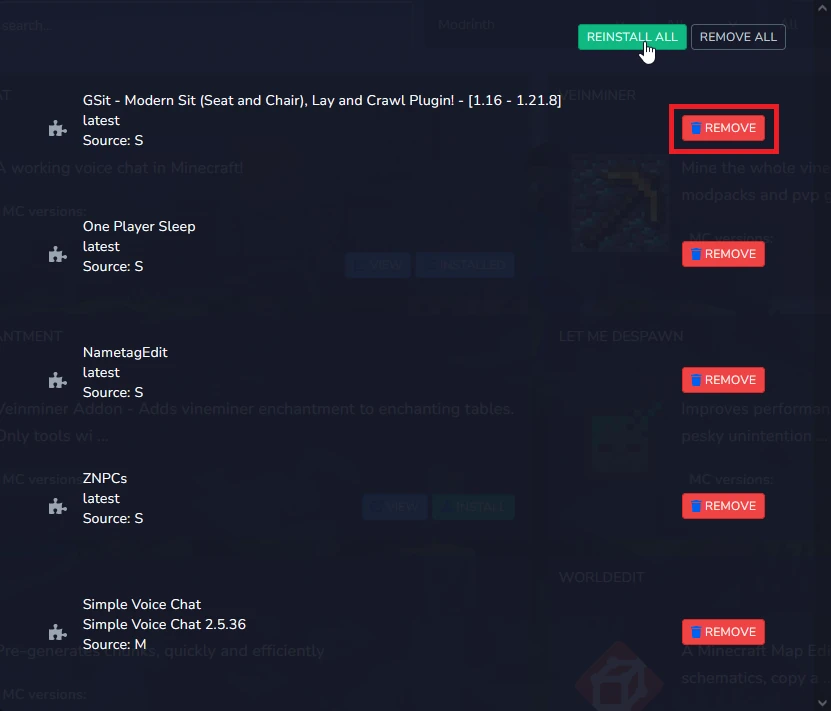
2. Click the “Remove” option to uninstall a single plugin, or “Remove All” to uninstall all of them. Here, you can also reinstall all plugins if needed.
3. Go to “Console” and restart the server to apply the changes.
We hope that our intuitive web interface has allowed you to manage plugins easily. If you want to ask us any questions, feel free to contact us via e-mail, ticket or live chat!