
Don’t Starve Together is a fantastic survival game that allows you to create a unique gameplay experience on your server. With the ability to create your own custom world, you can literally customize all aspects of your server, including:
- Length and intensity of each season
- Length of day, night and dusk
- Frequency of various food sources
- Frequency of animal occurrences
- Frequency of monster and spawner occurrences
- Frequency of resource occurrences
- Weather conditions, including different types of precipitation and the frequency of tidal waves
- Possibility of wildfires
- Possibility of animal and plant diseases
- Regeneration time of plants
In this guide, you will learn how to generate your own custom world in Don’t Starve Together and how to introduce it to your server.
How to set up a custom world on your server
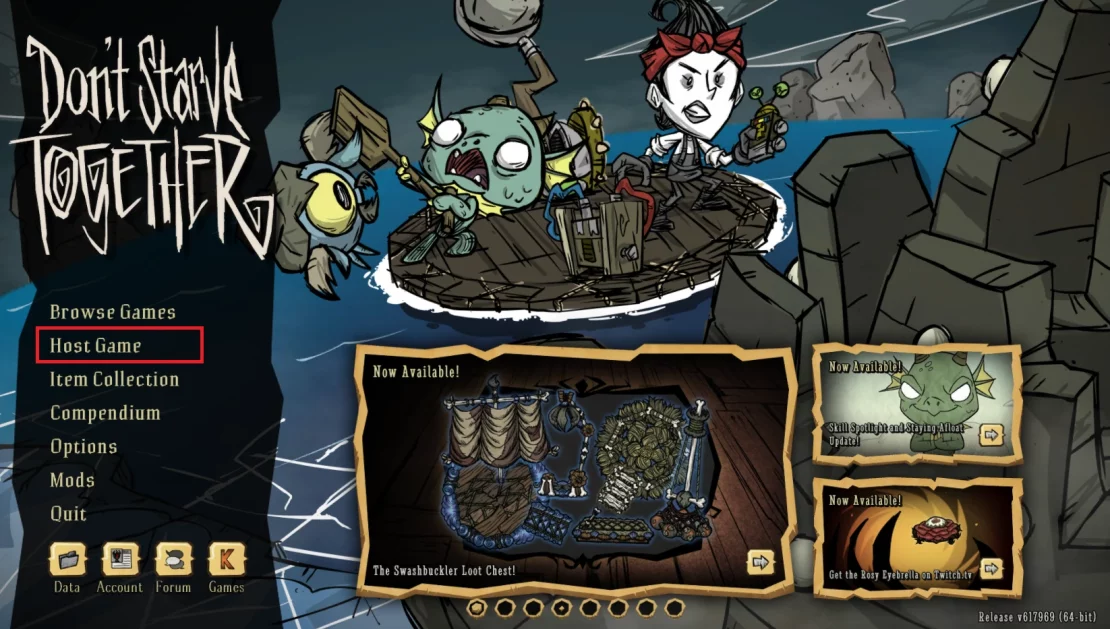
1. Launch Don’t Starve Together game.
2. One you are in a main menu, select “Host Game”.
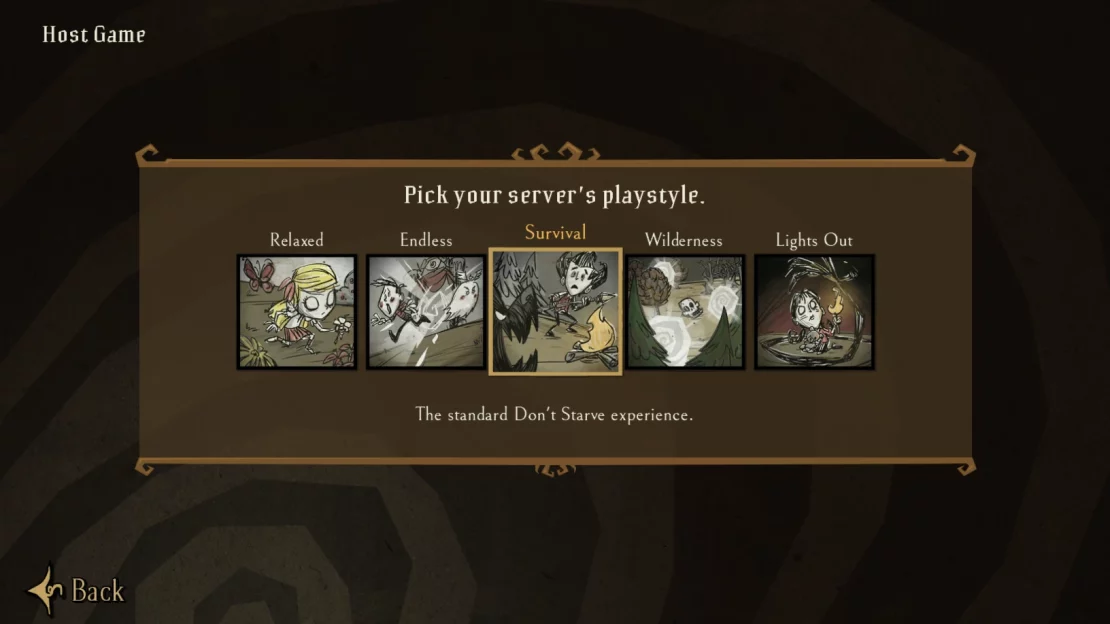
3. Select server playstyle.
You have 5 playstyles to choose:
- Relaxed
- Endless
- Survival
- Wilderness
- Lights Out
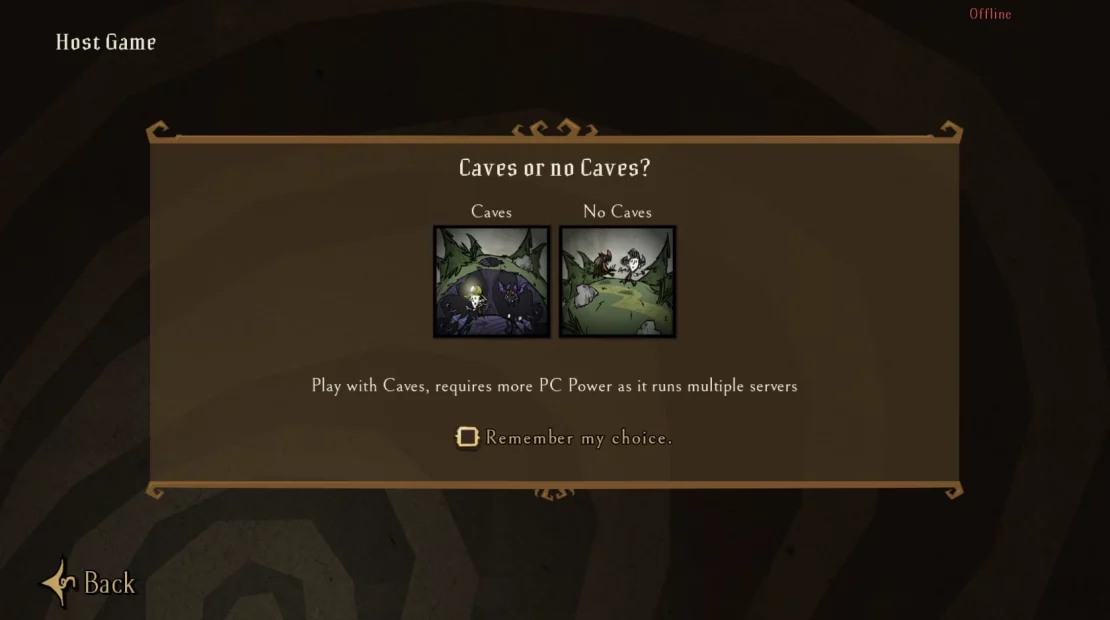
4. Select, if you want caves on your map.
5. Enter the appropriate custom settings.
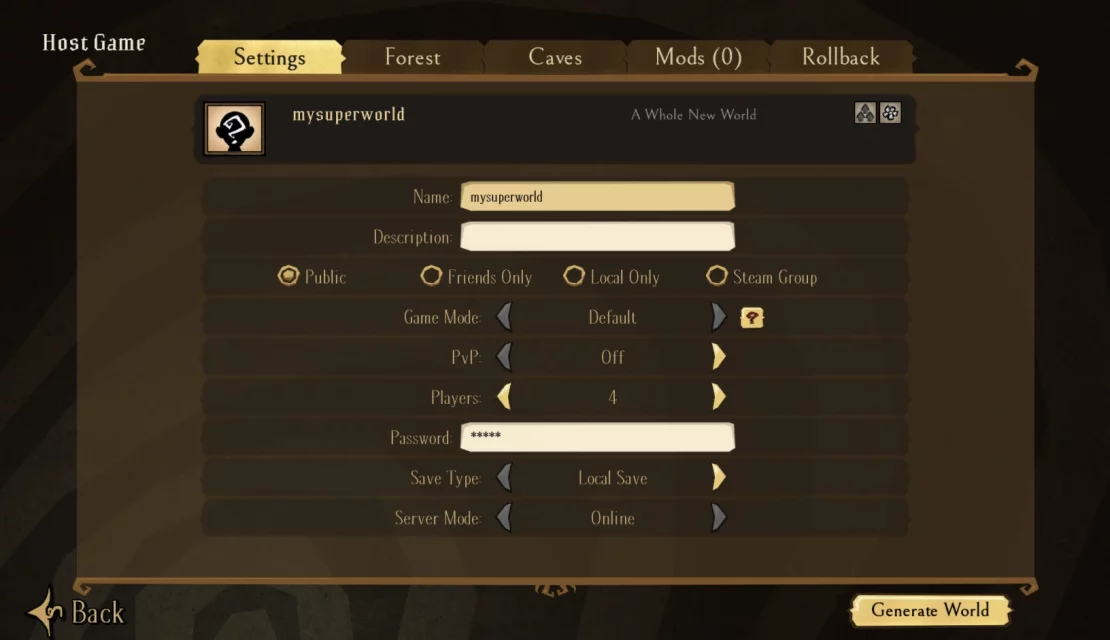
Don’t forget to look at the “Forest” tab, where you can set “World Settings” and “World Generation”.
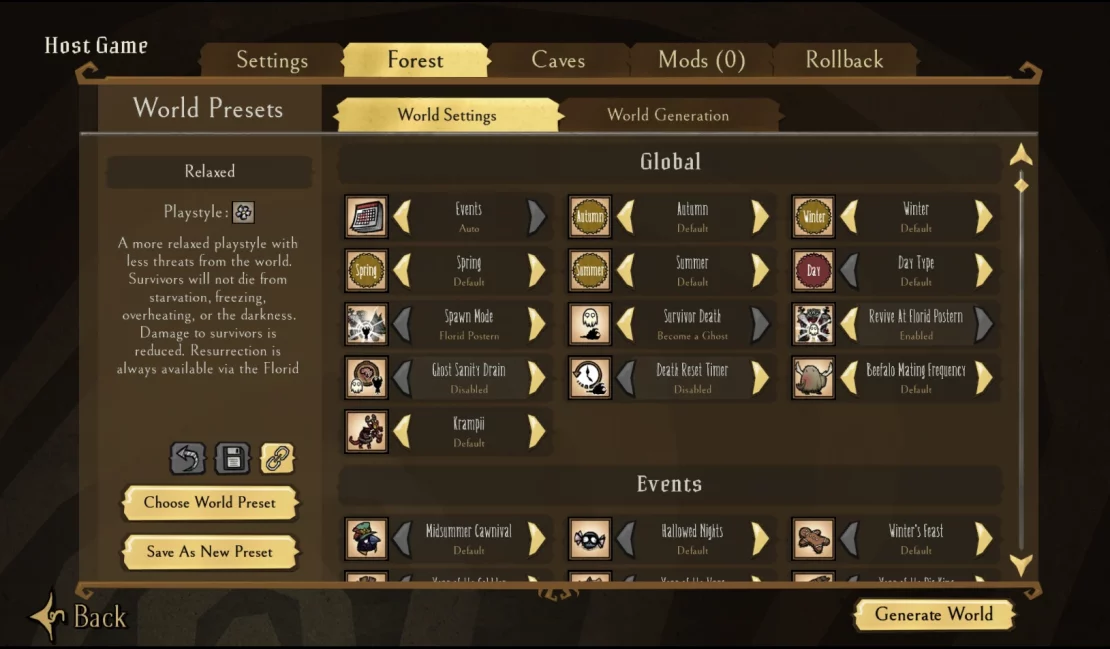
If you chose the cave map option, follow the same steps in the “Caves” tab.
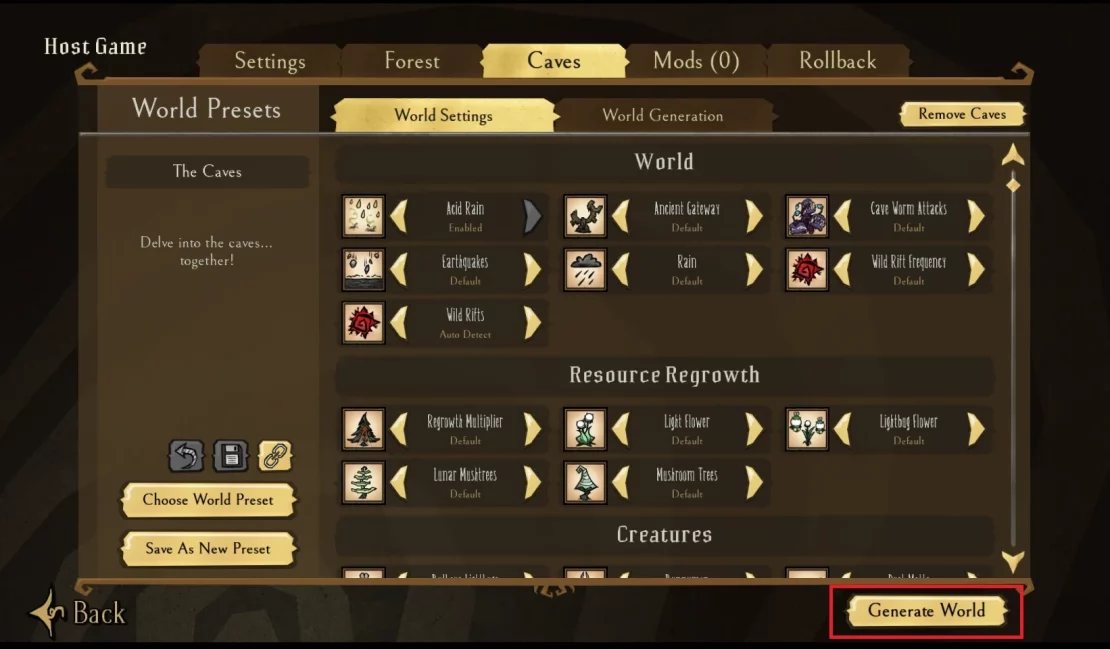
6. Once you have finished setting up your world, click “Generate World”. Depending on your settings, the process should take a maximum of a few minutes.
7. Navigate main menu. Here, click “Data” button, located in the lower left corner of the window.
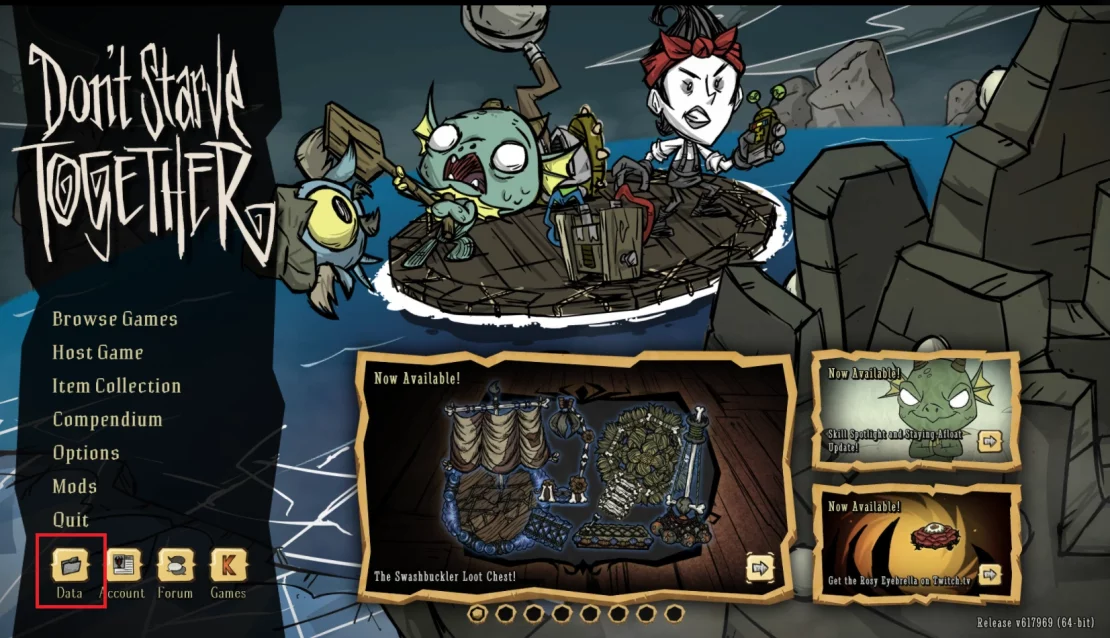
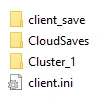
You should be redirected to the game files located on your local computer. Among them, you will find files named “Cluster_1”, “Cluster2”, etc.
Enter the latest Cluster folder – inside you will find folders called “Master” and “Caves”. In these folders you will find the leveldataoverride.lua file, which you need to upload to your server.
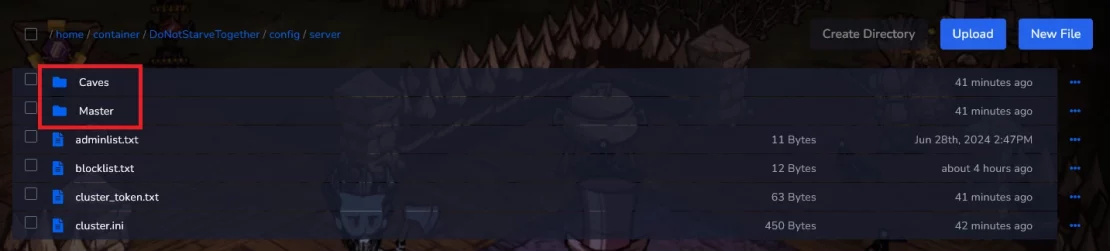
8. Go to the control panel and navigate “Files” tab. Here, follow this path:
/home/container/DoNotStarveTogether/config/server9. After going to the “server” folder, you will find the “Master” and “Caves” folders. Go to them and delete all saves.
10. Then, upload the “leveldataoverride.lua” files (the same ones you located in the Cluster folder) in the same folders.
11. Navigate “Console” tab and restart your server.
Are you looking for answers to other questions? Use our guides for the Don’t starve Together server:
How to connect to a Don’t Starve Together server
How to configure a Don’t Starve Together server
How to install mods on a Don’t Starve Together server
How to create token for a Don’t Starve Together server
How to become an admin of a Don’t Starve Together server
How to ban players on a Don’t Starve Together server
How to enable caves on a Don’t Starve Together server
We hope that our intuitive guide helped you manage your Don’t Starve Together server easily. If you want to ask us any questions, feel free to contact us via e-mail, ticket or live chat!
