
If you’ve created a unique world in Valheim and would like to play on it with others, you can easily upload it to your dedicated server. As an administrator, you can transfer all your progress, bases, resources, and discovered areas. This migration process requires just a few steps, including packing your local files and uploading them to the server’s files. In this guide, we’ll explain step by step how to do it.
Make sure your world is installed locally
First, make sure your files are installed locally:
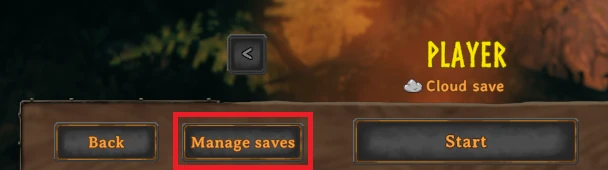
1. Launch Valheim game and select “Start Game”.
2. Click “Manage saves”.
3. In the “Worlds” section, select your save and click “Move to local”.

Locate world files
In the next step you need to locate your save files on your local computer:
1. Navigate worlds_local directory on your local computer.
C:\Users\[Username]\AppData\LocalLow\IronGate\Valheim\worlds_local2. Find all files named like your save, with extensions:
- .db
- .db.old
- .fwl
- .fwl.old
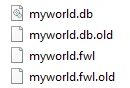
3. Compress selected files into a .zip file
Upload world files to your server
The final step will allow you to launch your chosen save on your Valheim server:
1. Go to the control panel and select Valheim server.
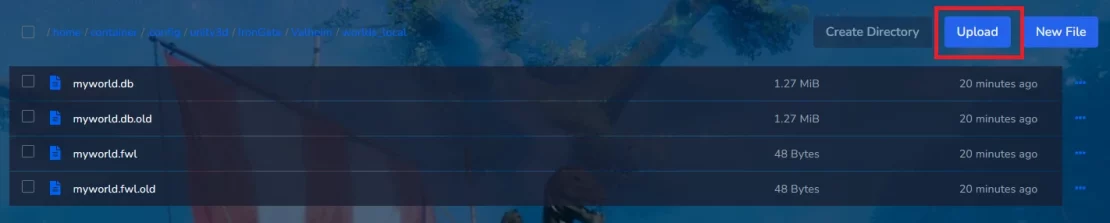
2. Access server files and navigate worlds_local directory.
/home/container/.config/unity3d/IronGate/Valheim/worlds_local3. Click “Upload” button to upload the .zip file. If the file exceeds 100MB, use SFTP.
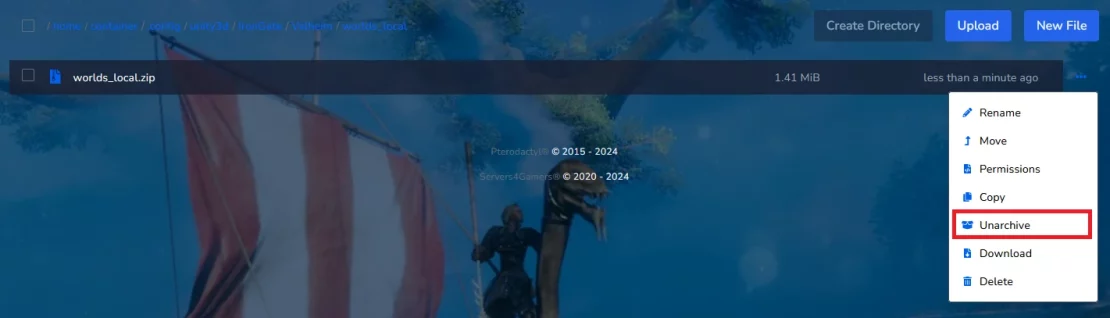
4. Once you’ve uploaded the file, you’ll need to unzip it. To do this, select “Unarchive.”
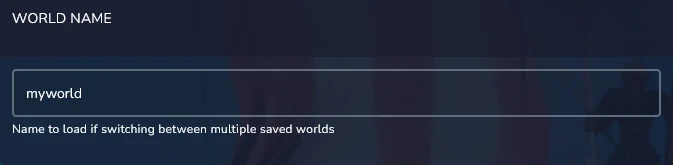
5. Go to the “Startup” and navigate “WORLD NAME”. Enter the name of your world here.
6. Go to the “Console” and restart your Valheim server.
We hope that our intuitive web interface has allowed you to manage your Valheim server easily. If you want to ask us any questions, feel free to contact us via e-mail, ticket or live chat!
