


Left 4 Dead 2 becomes even more thrilling with mods that enhance gameplay with adding new scenarios, objects and many more. In this tutorial you will know how to install mods on a L4D2 server.
How to install mods
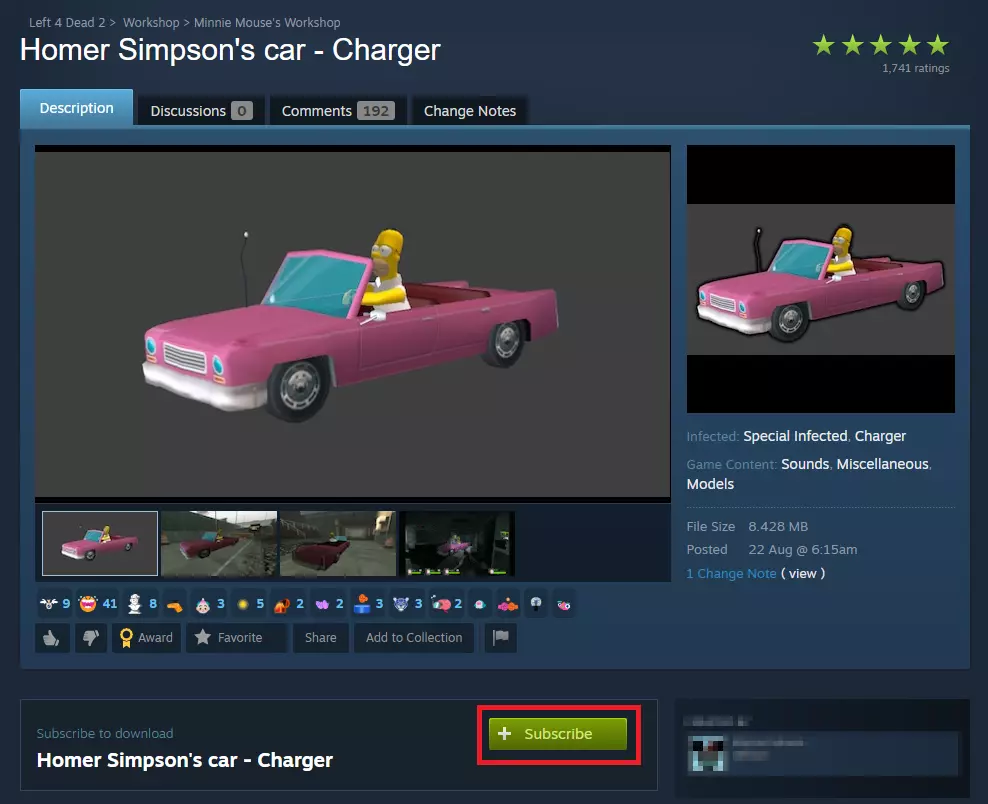
1. Subscribe to the Mod on Steam Workshop
Start by browsing the Steam Workshop and finding the Left 4 Dead 2 modification you’re interested in. Click the “Subscribe” button to add it to your collection.
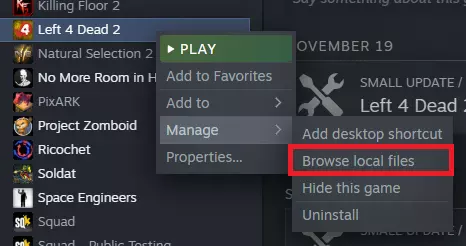
2. Locate your local game files
Open your Steam library, right-click on “Left 4 Dead 2,” and select “Manage”. From there, click on “Browse Local Files.” This will open the directory where your game files are stored.
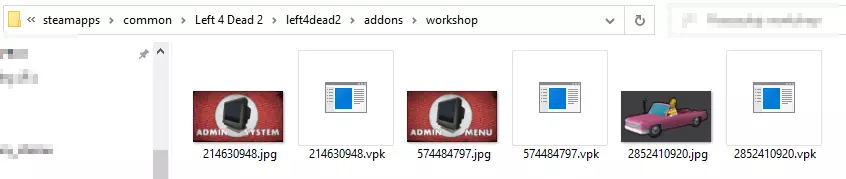
3. Navigate to the Workshop folder
In your local files, find the following path:
SteamLibrarysteamappscommonLeft 4 Dead 2left4dead2addonsworkshop
Here, you’ll find the .vpk mod file you subscribed to on the Steam Workshop.
4. Locate addons directory in your server
Access your server panel, and go to the “Files” tab. Navigate to:
/home/container/left4dead2/addons
Once there, click on the “Upload” button.
5. Upload the mod to your server
A file dialog will appear. Select the .vpk mod file you found in the workshop folder and click “Open” to initiate the upload process.

6. Restart your server
To activate the mod, you’ll need to restart your Left 4 Dead 2 server. Go to “Console” tab and restart your server.
We hope that our intuitive web interface has allowed you to configure Left 4 Dead 2 server easily. If you want to ask us any questions, feel free to contact us via e-mail, ticket or live chat!
This tutorial will show you how to install Left 4 Dead 2 mods
