


In this guide, you’ll learn how to add mods from the Steam Workshop to your Project Zomboid server. The mod installation process may seem complicated at first, but using our control panel you can do it quickly and without any issues. This allows you to expand your gameplay with new mechanics, items, and modifications while saving time and avoiding common configuration mistakes.
How to Quickly Add Mods a Project Zomboid Server
1. Go to our control panel: https://panel.servers4gamers.com
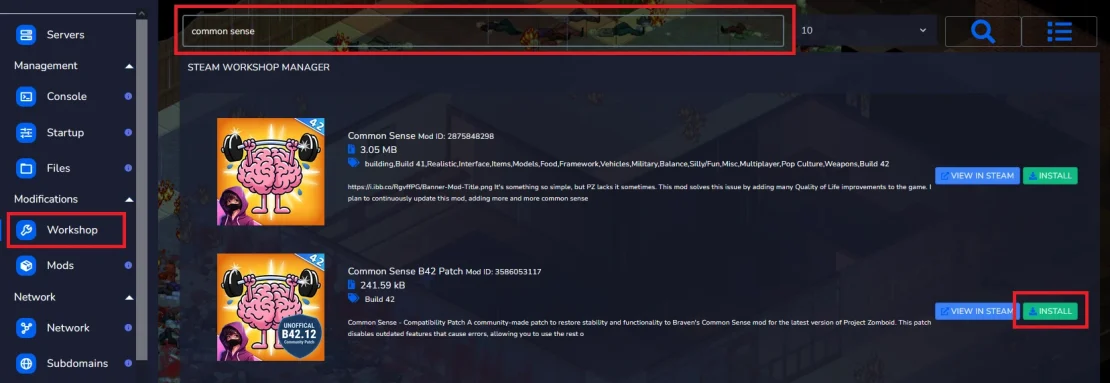
2. Navigate to the Workshop tab, where you can search for modifications available on the Steam Workshop.
3. Once you find the mod you want (you can search for mods by name), click Install.
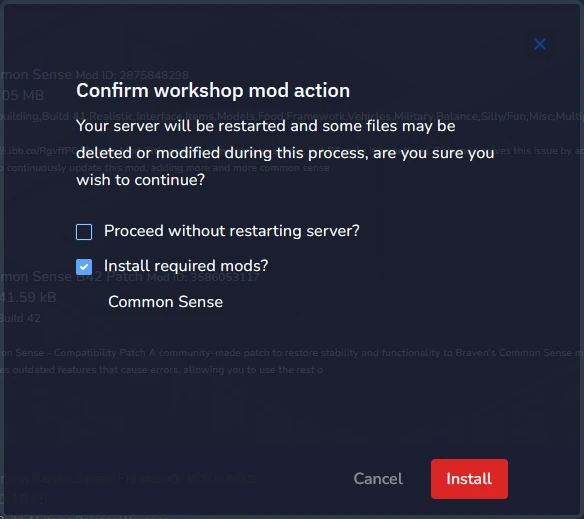
4. In the new window, you can enable the option to install without restarting (choose this if you plan to install more mods later) and enable the option to install dependent mods (we recommend installing dependencies right away to avoid installation errors). To confirm the changes, click Install again.
At this point, your server will begin installing the mods and will restart automatically – this may take a few moments before the server becomes active again.
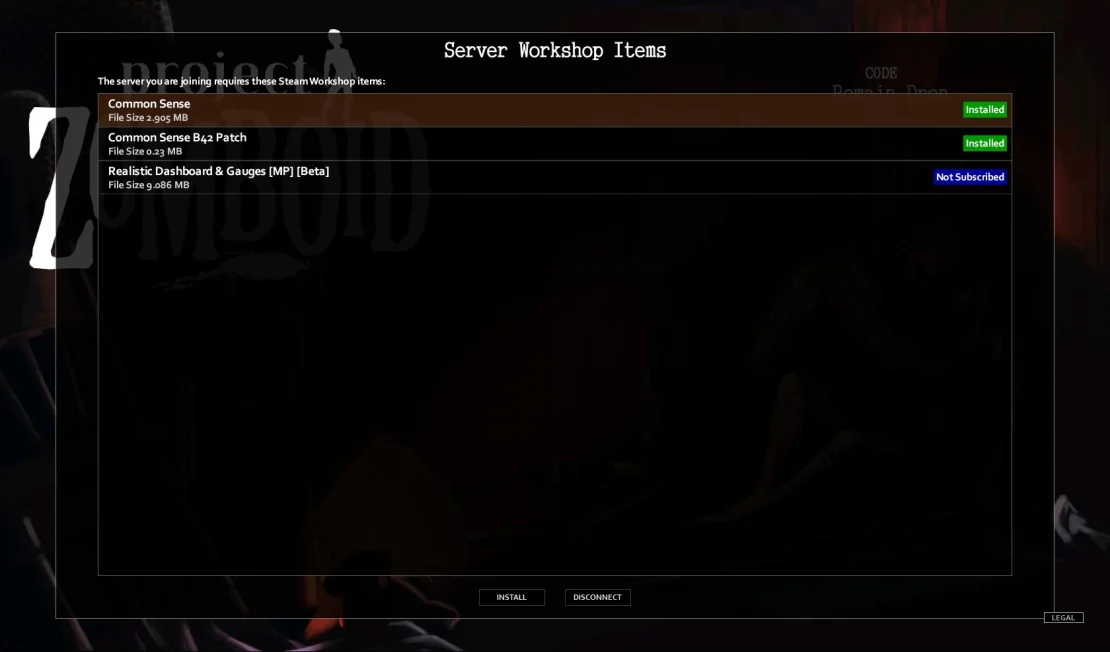
After joining the server, you will see a list of installed mods – click Install to join the game and enjoy the server with the new mods enabled!
Sometimes it may happen that a selected mod does not work or causes the server to behave incorrectly. This can be caused by several factors, including:
- Incompatibility with the game version – Some mods are no longer updated and may not work with the current version of Project Zomboid, which can lead to errors. Always check the mod description to avoid misunderstandings.
- Conflicts between mods – Multiple mods may modify the same game elements, which can result in errors or unstable behavior.
- Missing dependent mods – Many mods require other mods to function properly. If these dependencies are not installed, the server may fail to start or the mod may not work correctly.
- No server restart – Most mods require a full server restart to be properly loaded. Without restarting, the mod may not appear in the game.
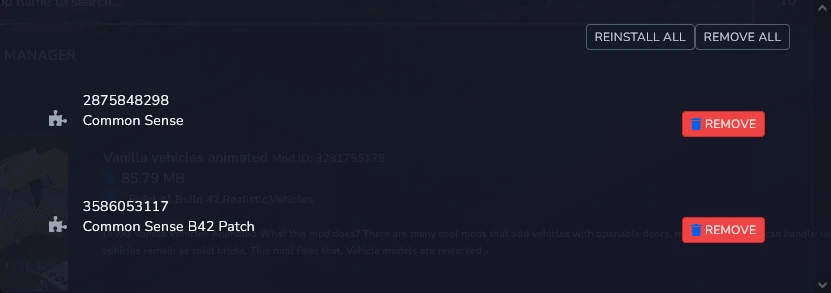
If you encounter any issues with mods and want to uninstall them, go back to the Workshop tab and click here:
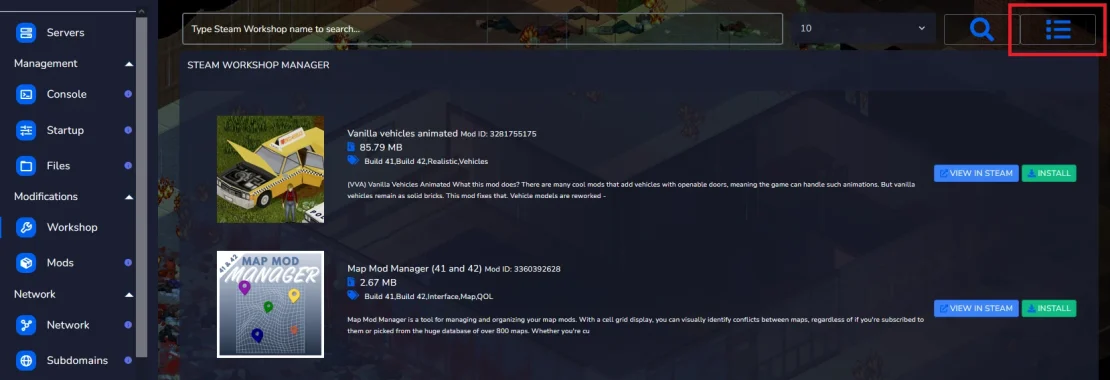
From there, you can reinstall or remove selected mods with a single click.
We hope that our intuitive web interface has allowed you to manage your Project Zomboid server easily. If you want to ask us any questions, feel free to contact us via e-mail, ticket or live chat!
This tutorial will show you how to install Project Zomboid mod
