


7 Days to Die gaming experience can be expanded by adding a bunch of mods to your server. There is a plenty of modification type that can be added to server, like map mods, new vehicles, new building, new weapons and many more. Mods are created and shared by game community to customize a gameplay. Mods are supported natively, so installation process is very easy and straightforward. Mods need to be installed both on your client and server. This guide will walk you for both client and server installation.
How to install mods on a 7 Days to Die server
1. Find a Mod
Start by finding a 7 Days to Die mod that interests you. A great resource for this is: https://7daystodiemods.com/, where you can explore a variety of mods.
For this tutorial example we will use a Buggy mod https://7daystodiemods.com/buggy/.
2. Download and unzip the mod
Download the mod you’ve chosen (ensure it’s compatible with your game version) and unzip it.
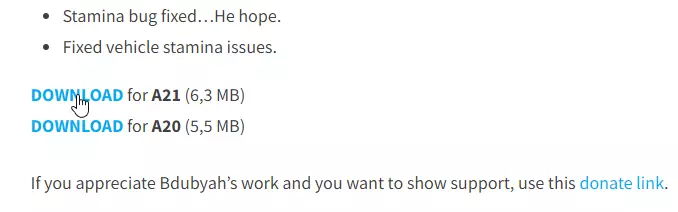
You should find a folder containing a file named ModInfo.xml.

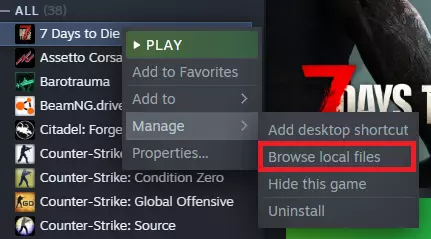
3. Access local game files
In your Steam library, locate 7 Days to Die, right-click on its name, and select “Manage” and click on “Browse local files”.
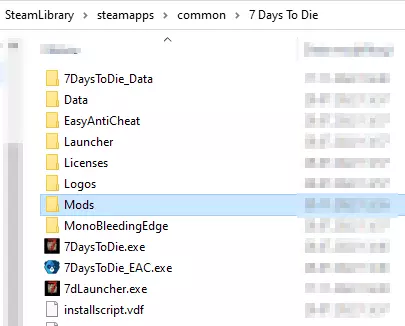
4. Create the mods folder
Inside the 7 Days to Die local files, create a new folder named “Mods” if it doesn’t already exist. This is where you will place your mod files.
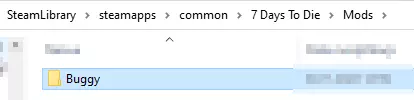
5. Copy the mod to the mods folder
Copy the previously extracted modification directory into the “Mods” folder you just created. The path to the ModInfo.xml file should look like this: SteamLibrarysteamappscommon7 Days To DieMods<mod_name>ModInfo.xml
6. Access server panel and stop server
Go to your server panel and stop your 7 Days to Die server. Then, navigate to the “Files” tab.
7. Create a mods directory
Select “Create Directory” within the “Files” tab.

8. Name a mods directory
A new window will appear – name the directory “Mods” and confirm it by clicking “Create”.

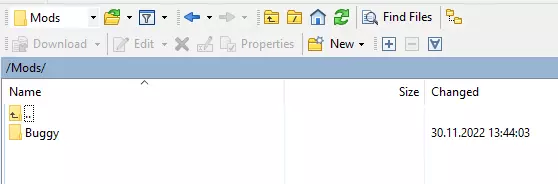
9. Locate the mods folder in SFTP server
To upload the mod folder to your server, log in to your server using an SFTP (SSH File Transfer Protocol) client. Locate the “Mods” folder you created earlier in your server’s directory.
10. Upload the mod folder
Upload the modification folder (containing the ModInfo.xml file) into the “Mods” folder on your server via SFTP.
11. Restart your server
After you’ve uploaded the mod, go to “Console” tab and restart your 7 Days to Die server. Your server will now run with the mod you installed, offering a customized and enriched gameplay experience.
We hope that our intuitive web interface has allowed you to manage your 7 Days to Die server easily. If you want to ask us any questions, feel free to contact us via e-mail, ticket or live chat!
This tutorial will show you how to install 7 Days to Die mods
