


Custom maps are a great solution for more demanding server owners who want to have control over biomes and monuments!
How to upload custom map
1. Stop your server
Go to the server panel and find your Rust server on the list. After clicking on Rust server you should be redirected to the “Console” tab. Click on the “Stop” button to stop your server.
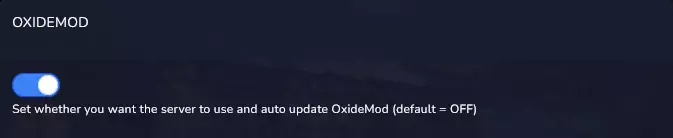
2. Turn on Oxide Mod
Once you are in a server panel, navigate “Startup” tab. You should see server configuration options. Find “OXIDEMOD” option and turn it on.
3. Start your server
Once you have turned on modification, you need to start your server to install Oxide Mod. Navigate “Console” tab and click on “Start” button to start your server.
4. Install RustEdit Oxide extension
When your server is started you can install RustEdit Oxide extension. Navigate “Mods” tab to find it, then click on “INSTALL” button to install modification.

5. Download map file
Find the map you want to play on. Then, download custom map file (the file must have .map extension to work) on your computer.
6. Upload map file to Dropbox
Copy link and replace ending &dl=0 with &dl=1.
7. Go to server panel and select “Startup” tab
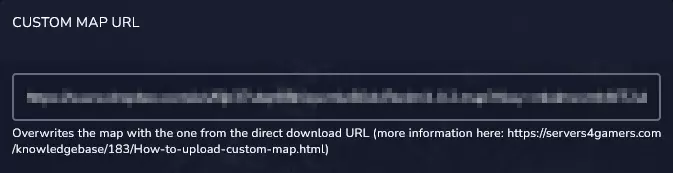
8. Paste map URL
Find ‘CUSTOM MAP URL’ window, then and paste recently copied link.
9. Restart your server
Navigate “Console” tab. Click on “Restart” button to restart your server.
We hope that our intuitive web interface has allowed you to manage your Rust server easily. If you want to ask us any questions, feel free to contact us via e-mail, ticket or live chat!
This tutorial will show you how to upload custom map to Rust server
