


In this guide, you will learn how to join a 7 Days to Die server using two methods: the server browser and direct IP connection. Additionally, we will cover the most common issues that prevent players from joining multiplayer games and explain how to fix them.
How to join a 7 Days to Die server with IP
1. Launch 7 Days to Die.
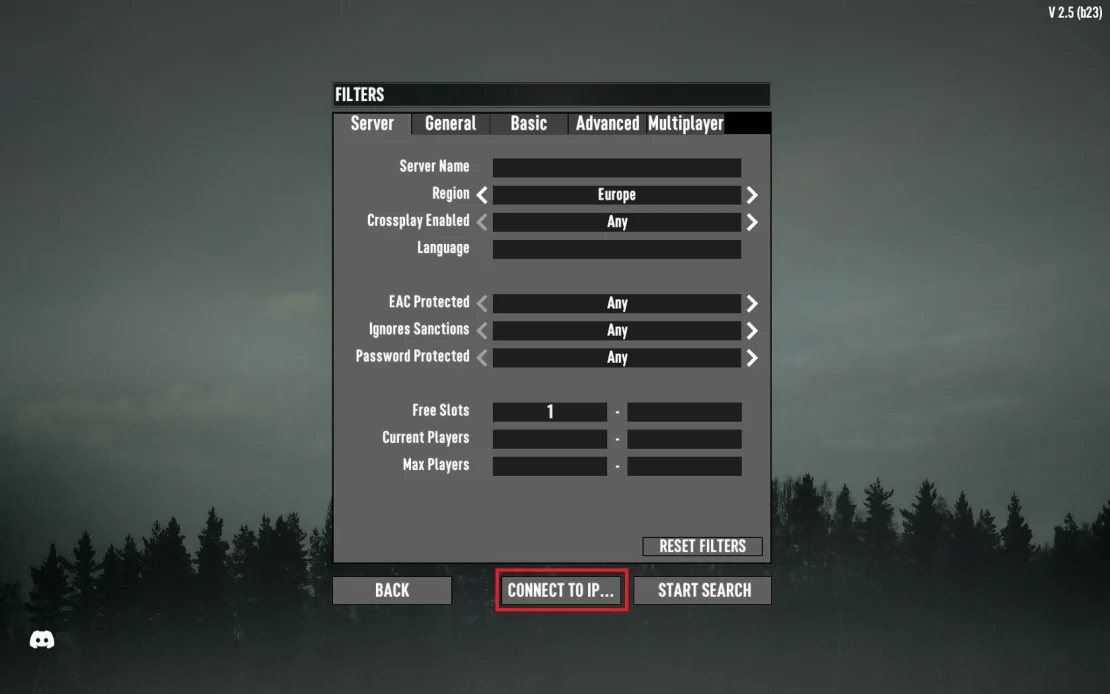
2. Once you are in the main menu, click Join a Game.

3. Select Connect to IP.
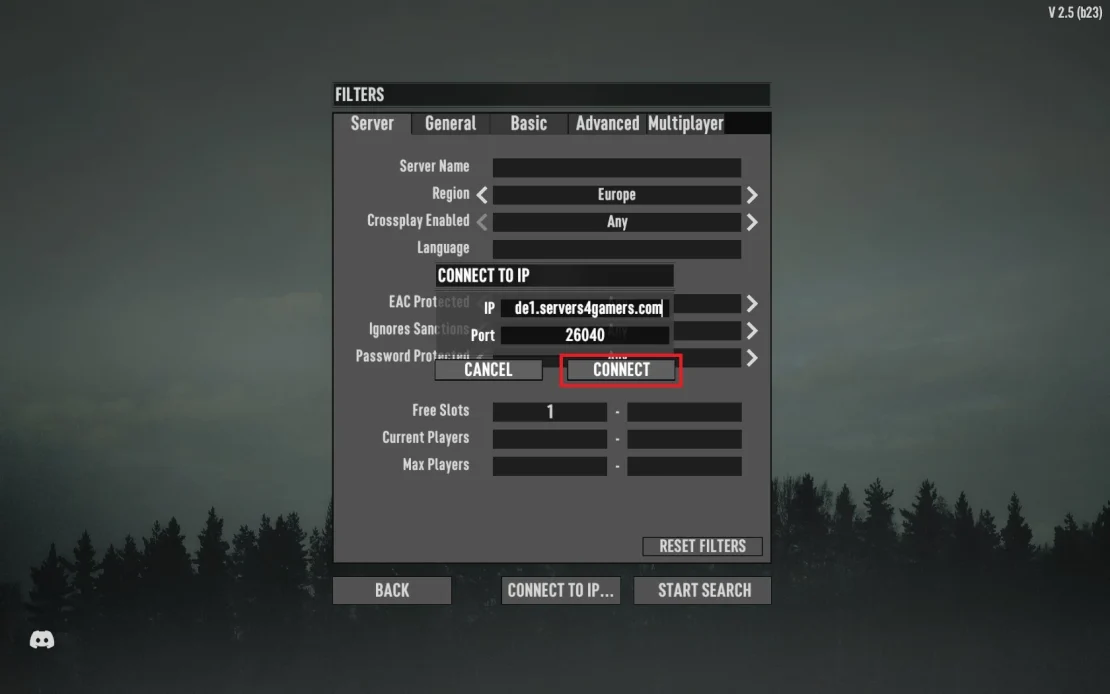
4. In the new window, enter the server IP address and port, then click Connect.
How to find 7 Days to Die server IP
1. Go to the control panel.
2. Open the Console or Network tab – this is where you can check your server IP address and port.
How to join a 7 Days to Die server via server list
1. Launch 7 Days to Die.
2. Once you are in the main menu, click Join a Game.

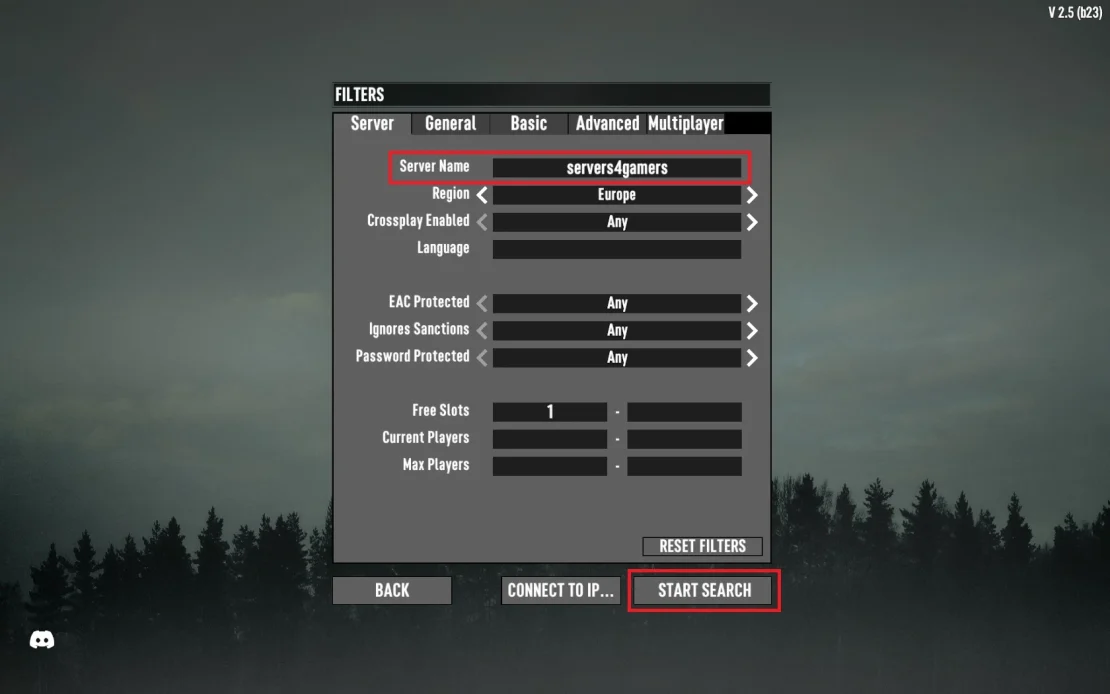
3. Enter your server name in the search filters (if you don’t know your server name, go to our control panel and check the Startup section), then click Start Search.
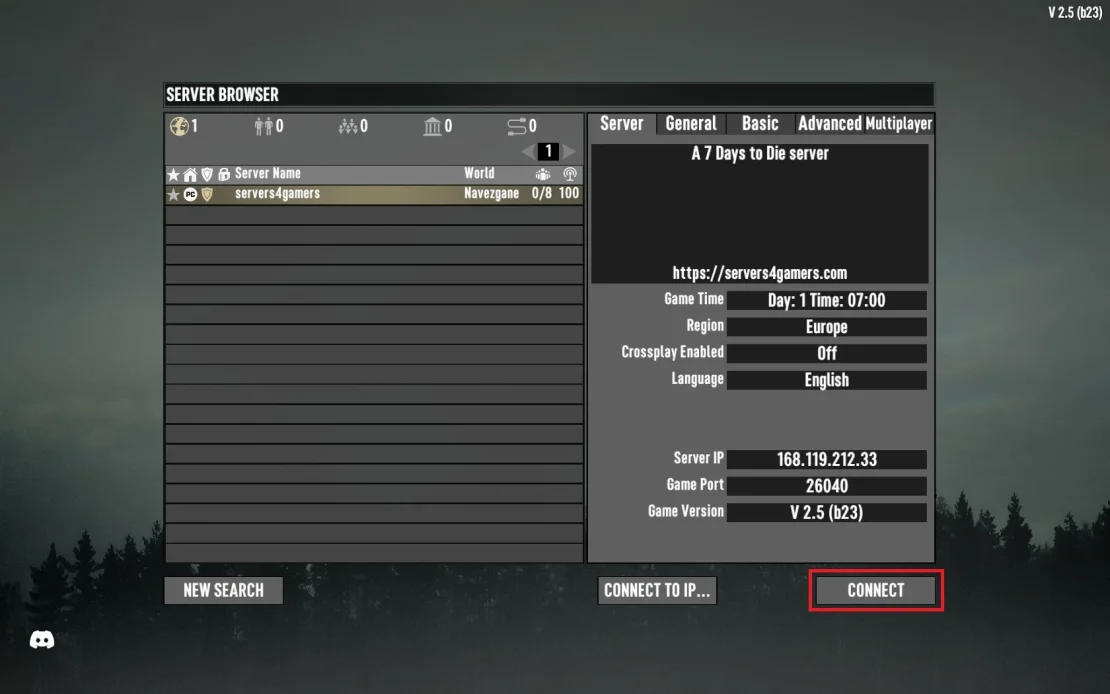
4. Your server should appear in the list. Select it and click Connect.
Common Connection Issues
Below are the most common issues that can prevent you from connecting to a 7 Days to Die server.
Easy Anti-Cheat Disabled
If your game client is running with Easy Anti-Cheat enabled while the server has it disabled, you will not be able to connect.
Fix: Go to the Startup section in your control panel and locate the EAC Enabled variable. Enable it and restart the server to apply the changes.
Incorrect Server Region
It is possible that you rented a server in one location but forgot to configure the region in which it should appear, causing it not to show up in the server list.
Fix: Go to the Startup section in your control panel, find the Server Region variable, set the correct region, and restart the server to apply the changes.
We hope that our intuitive web interface has allowed you to connect your 7 Days to Die server easily. If you want to ask us any questions, feel free to contact us via e-mail, ticket or live chat!
This tutorial will show you how to connect 7 Days to Die server
