


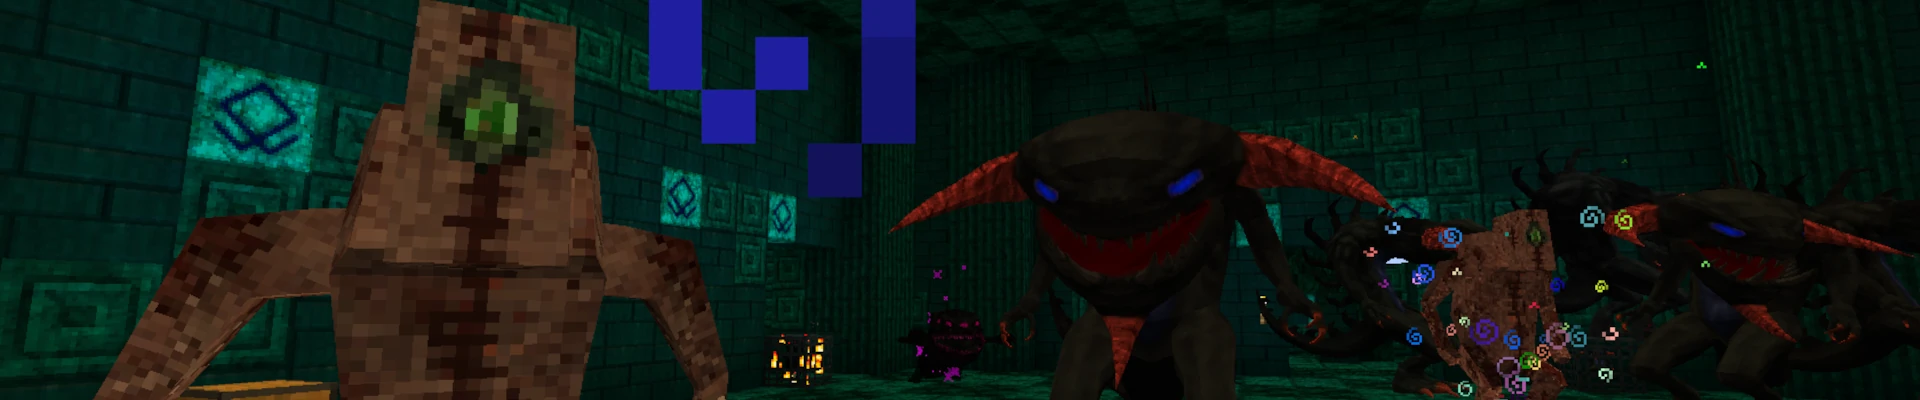
RLCraft is one of the most demanding and unforgiving Minecraft modpacks ever created. This is not a simple pack where you just get new biomes and a few extra features – RLCraft completely changes the core mechanics of the game and transforms it into a fully realistic survival experience that can challenge even veteran players. Instead of a peaceful start and basic crafting, you’re thrown into a brutal world where you can be attacked by a dragon, captured by a flying demon, or simply die from thirst. This intensity, combined with the large number of complex systems, makes playing with friends even more engaging and exciting.
RLCraft requires significantly more power than vanilla Minecraft, as it contains dozens of mods responsible for world generation, advanced mob AI, magic systems, weather mechanics, and survival elements. Trying to host this modpack on a local computer often leads to crashes, lag, and overall instability. That’s why it’s highly recommended to rent a dedicated server specifically optimized for RLCraft to ensure smooth performance and a stable multiplayer experience.
In this guide, we’ll show you how to set up your own RLCraft server in just a few minutes – without any manual mod configuration or technical complications.
How to rent an RLCraft Server
1. Sign up on our website or log in to your client account.
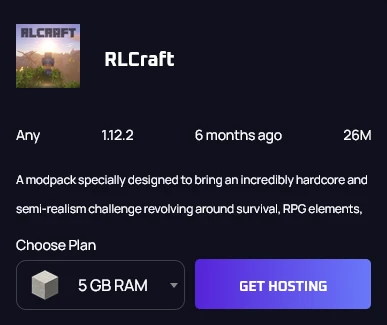
2. Go to our Minecraft modpack offer and search for RLCraft. Once you find it, select the appropriate amount of RAM and click “GET HOSTING”. We recommend choosing at least 5 GB of RAM to avoid any performance issues.
3. Once you complete the order form and finalize your payment, go to our game server panel. You can access it immediately after payment or log in later — simply check your email inbox, where you will find a message with a link to set up your panel password.
How to start playing RLCraft with friends using CurseForge
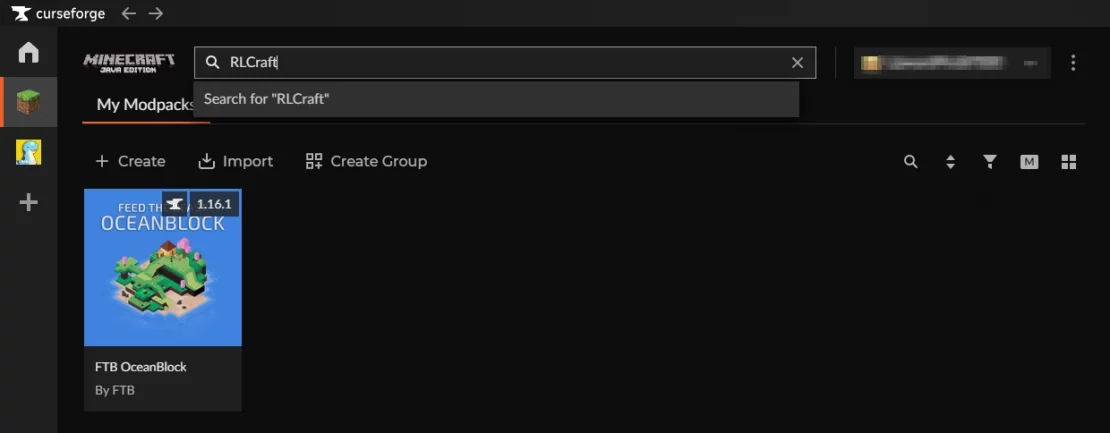
1. Open the CurseForge application and go to the “My Modpacks” tab.
2. Type the name of the modpack into the search bar and press Enter.
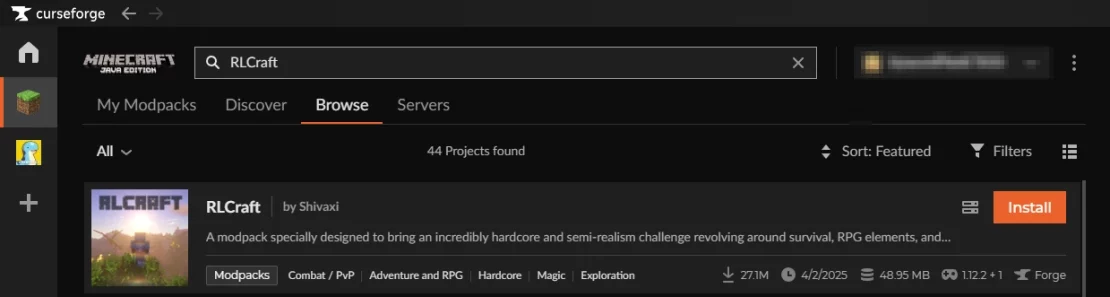
3. Click “Install” and wait a moment for the installation to complete.
4. Go back to the “My Modpacks” tab and click “Play“.

5. Once you are in the main menu, select the “Multiplayer” option. Next, select “Direct Connect“.

6. Enter your RLCraft server address and click “Join Server“. You can find your server address in the game server panel to the right of the console or in the “Network” tab.

FAQ
Can I test the server first?
Yes, you can start your RLCraft adventure on a trial server. The Free Trial on Servers4Gamers lasts for 3 days and allows you to fully test all features of our panel without any limitations. After the trial period ends, you can seamlessly upgrade your plan to a paid version. If you want to start testing, click here.
Do I need to install anything manually?
No. RLCraft is installed automatically – you only need to select this modpack during the ordering process. All files, mods, and configurations are set up for you. Within a few minutes, your server will be ready to play without the need to download mods or configure Forge manually.
How much RAM do I need for an RLCraft server?
RLCraft requires more resources than vanilla Minecraft. Our recommended minimum is 5 GB of RAM, which will provide smooth performance. The more players and chunks that are generated, the higher the RAM usage will be over time.
Why is hosting better than running a server locally?
Running a server on your local computer uses your system resources, causes lag, and only works while your device is turned on. Hosting provides key advantages, such as:
- 24/7 uptime
- Stable connection with no lag
- Pre-installed modpack setup
- Automatic backups
Hosting gives you a smooth, always-online RLCraft experience without putting any strain on your own computer.
