






To set up a world border on a Minecraft server, use the /worldborder center command to choose its center and the /worldborder set command to define its size. Once configured, the world border prevents players from travelling beyond the specified area.
Steps to Set Up a World Border on a Minecraft Server
Below, you’ll find the steps required to set up a world border on your Minecraft server using our game server panel.
Access the Server Console
Open your game server panel and navigate to the Console tab. This is where you’ll enter the commands required to configure your Minecraft server’s world border.
Set the World Border Center
Use the first command to define the center of the World Border. Replace the X and Z values with the coordinates where you want the border to be centered.
/worldborder centerSet the World Border Size
Once the center has been configured, use the second command to set the border size. The value represents the total diameter of the World Border in blocks. For example, a size of 100 creates a border that extends 50 blocks in every direction from its center.
/worldborder setFAQ
What Is the World Border in Minecraft?
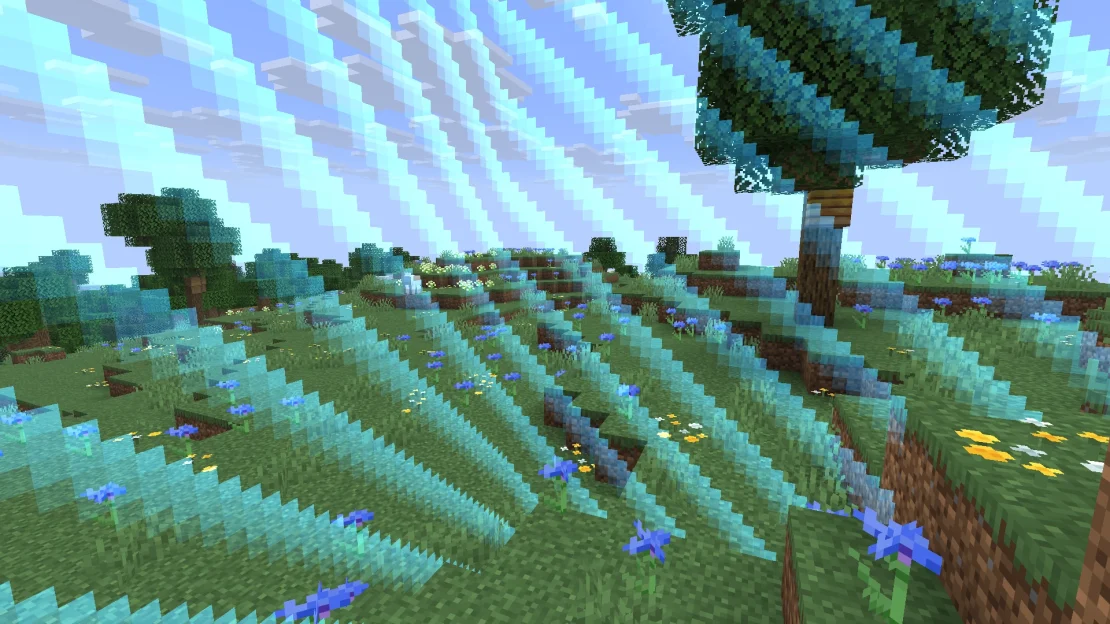
A world border is a configurable boundary that limits how far players can travel in a Minecraft world. It is commonly used on survival servers, SMPs, and events to keep players within a specific area and control world exploration.
How to Remove the World Border on a Minecraft Server?
To remove the world border, run the /worldborder set command and set its size to a very large value, such as 60000000. This effectively restores Minecraft’s default world size, allowing players to explore almost without limits.