


Automatic world installation allows you to easily upload ready-made worlds directly from the CurseForge platform. This way, you won’t have to manually download and configure files – the entire process takes just a few clicks.
How to install Minecraft worlds
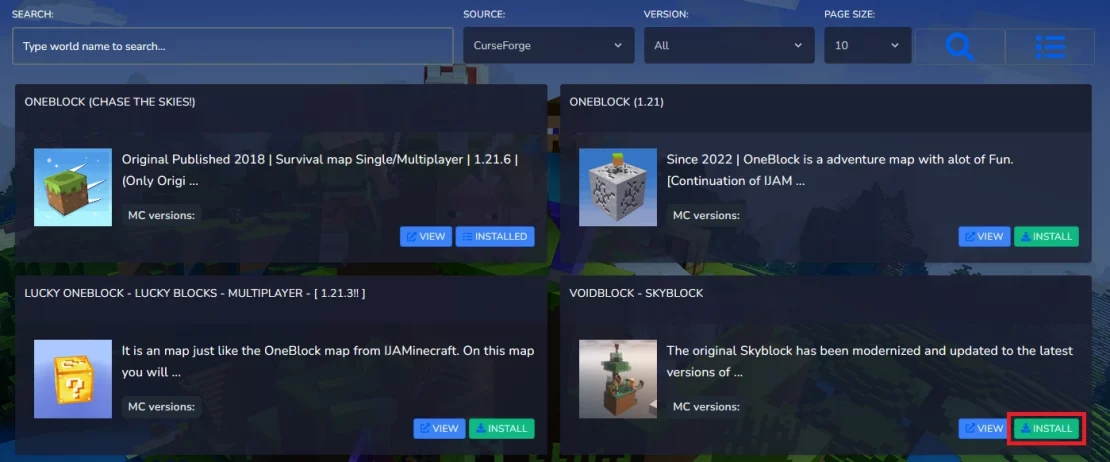
1. Go to the “Worlds” tab in our game server panel. Find the world you want to install and click “Install”.
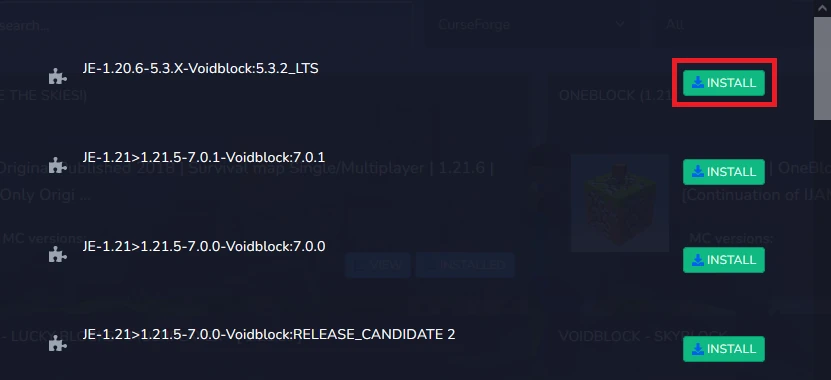
2. Select the appropriate version and click “Install” again.
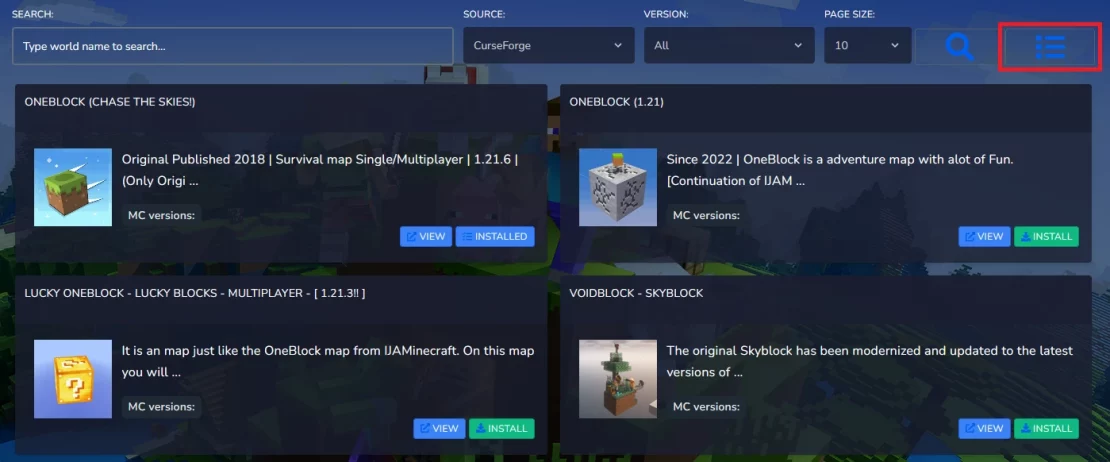
3. Go to the manager of currently installed worlds.
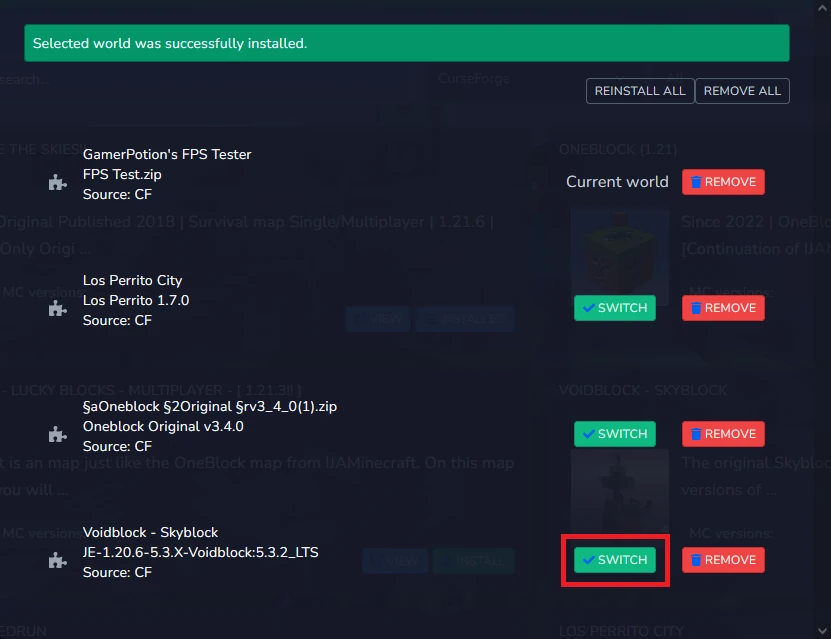
4. Click “Switch” to activate the selected world.
5. Go to the “Console” and restart server to apply changes.
How to remove Minecraft worlds
1. Go to the manager of currently installed worlds.
2. Click “Remove”.
3. Go to the “Console” and restart server to apply changes.
Common issues
Sometimes, after clicking “Install”, you may see the following message:
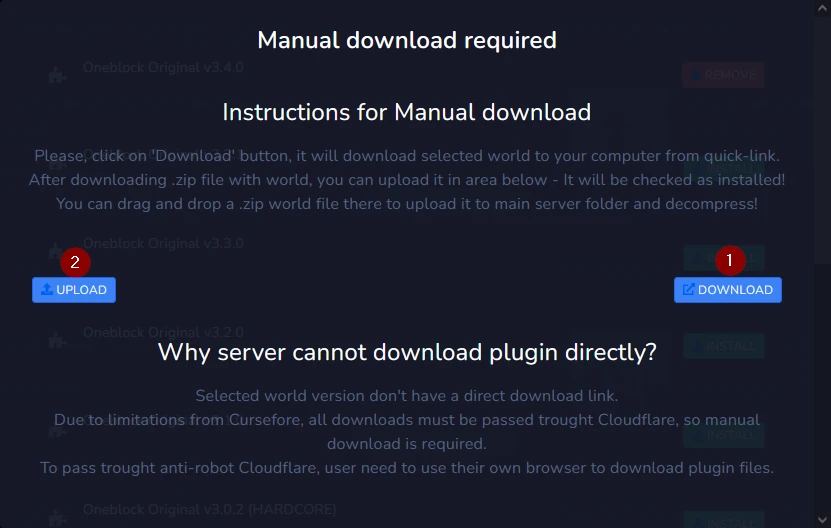
In this case, simply click “Download” to install the world files to your local drive, and then “Upload” to transfer them to the server. After restarting, the world should work correctly.
We hope that our intuitive web interface has allowed you to manage Minecraft worlds easily. If you want to ask us any questions, feel free to contact us via e-mail, ticket or live chat!