


Changing the name of your 7 Days to Die server is more important than you might think. It is the first thing players see on the server list, which means it has a direct impact on visibility and whether someone decides to join.
In this guide, you will learn how to change the server name in 7 Days to Die and what common problems you might encounter.
Changing the 7 Days to Die Server Name
1. Go to the control panel and Stop server.
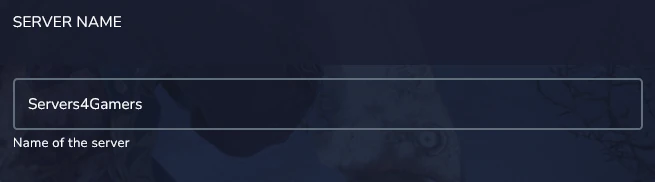
2. Go to the Startup and find Server Name variable. Enter your chosen server name into the field.
3. Start server.
Common Issues
1. I can’t see my server on the list – the issue may be that your server is not set to public. You likely have the option Public = 0, and in that case your server will not appear on the server list. Change it in the Startup settings to Public = 2, then restart the server.
2. I changed the server name, but the old one still appears on the list – you probably didn’t restart the server. Go to the Console tab and click Restart – this should resolve the issue.
If that doesn’t help, you should refresh the in-game server browser, as the data may not be updated yet.
