


Installing modifications on ARK server allows you to adapt it to the individual needs of players. Modifications have many positive sides and enrich our gameplay with new content, and in addition, some of them improve the performance of our servers. This guide contains two methods by which you can install modifications on your server.
How to install mods using Steam Workshop Downloader
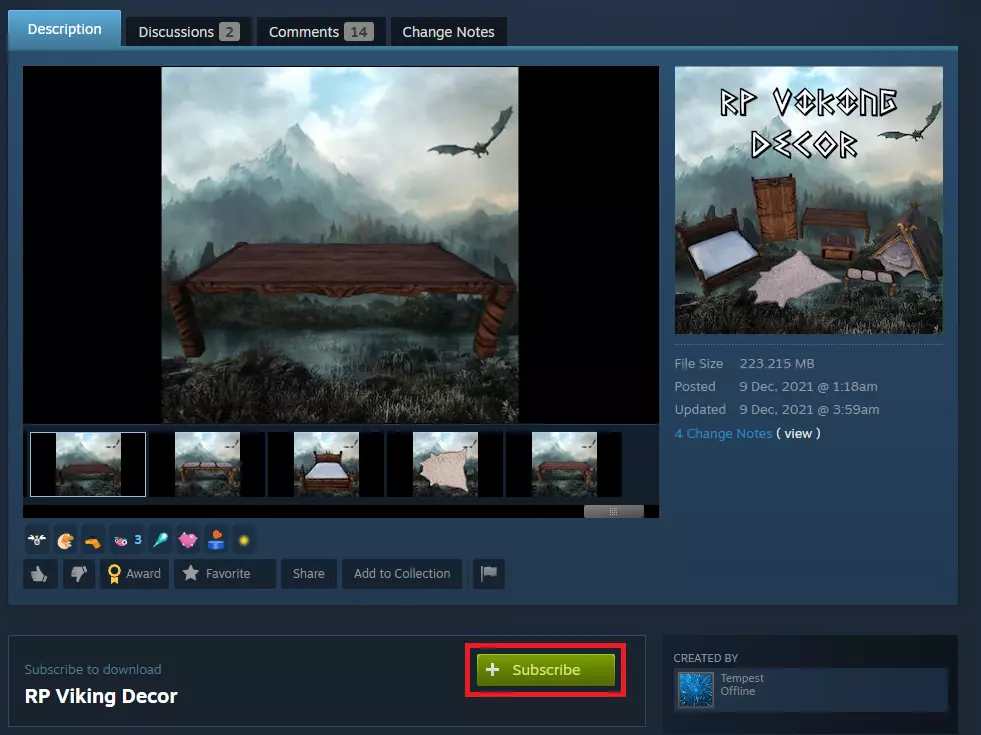
1. Launch Steam app and go to the Workshop.
2. Subscribe selected modification.
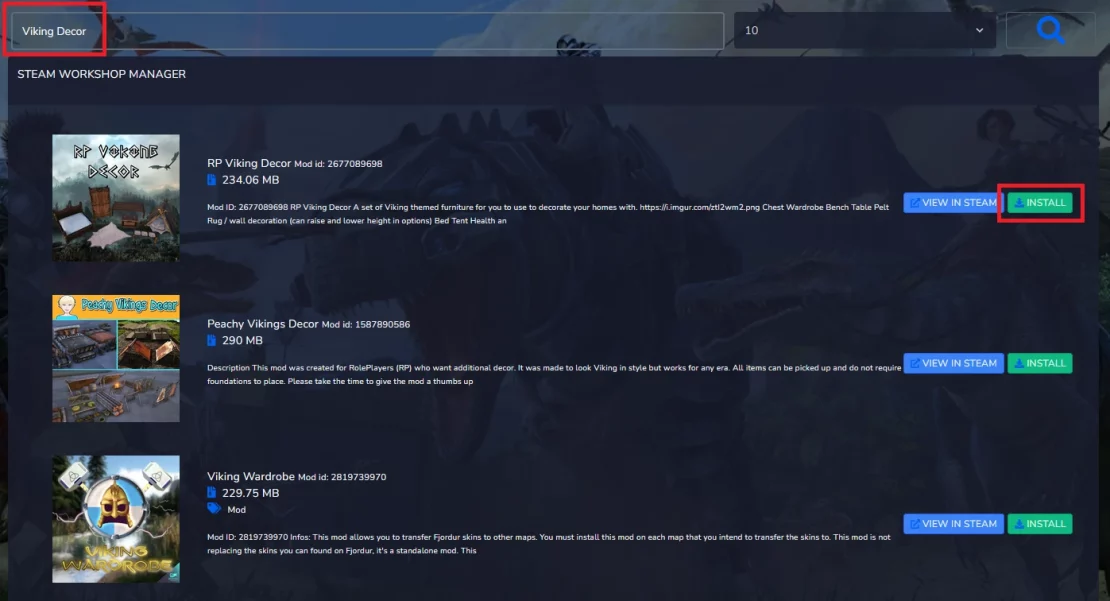
3. Go to the control panel and select “Workshop” tab.
4. Search for the desired modification by name and click “Install”.
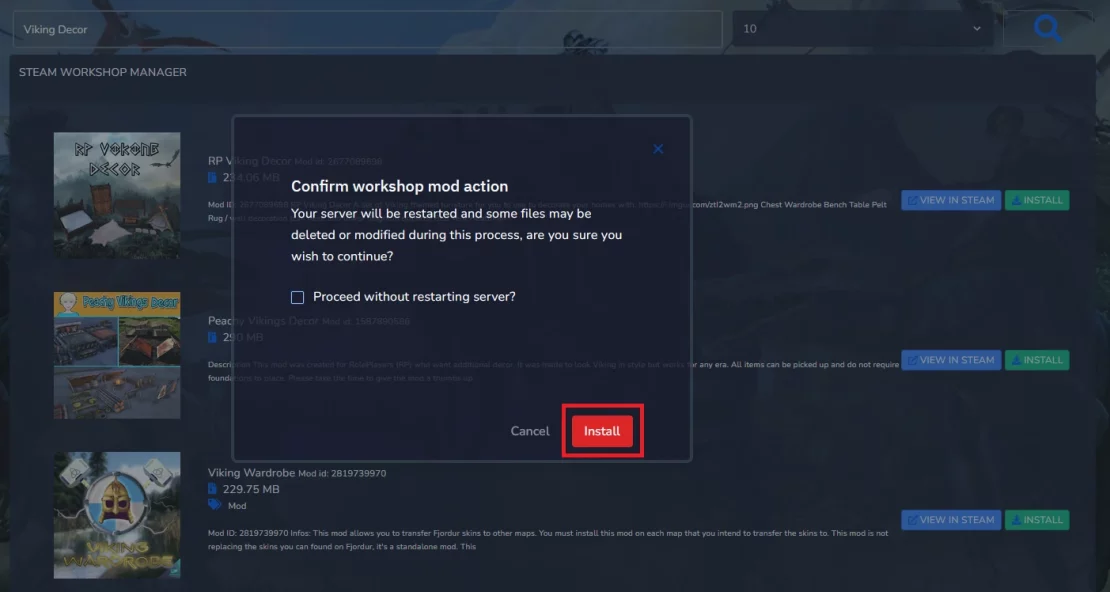
5. In the new window, select “Install” again. Do not select “Proceed without restarting server?” if this is the only mod you want to install. Do otherwise if you want to install several – this will avoid restarting the server several times.
How to install mods manually
1. Launch Steam app and go to the Workshop.
2. Subscribe selected modification.
3. Navigate to your subscribed mods folder on your local computer:
SteamLibrary\steamapps\workshop\content\346110Here you should see your mods (each one is a separate folder with the Steam ID in the name).

4. Access server files and open Mods directory.
/home/container/ShooterGame/Content/Mods5. Upload the modification folder to Mods. You can do this using an SFTP connection or simply upload the folder in .zip format using the “Upload” option.
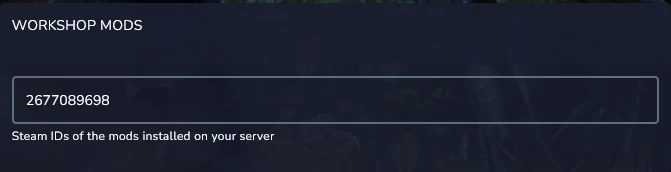
6. Go to the “Startup” and navigate WORKSHOP MODS option. Here, paste the Steam ID of the selected mod. If you want to add more than one mod, separate all IDs with a comma.
7. Restart ARK server.
We hope that our intuitive guide has allowed you to manage your ARK server easily. If you want to ask us any questions, feel free to contact us via e-mail, ticket or live chat!
This tutorial will show you how to install ARK: Survival Evolved mo
