


This guide explains how the sleep mechanic works in Project Zomboid multiplayer and how to properly configure it on a server. Unlike singleplayer mode, sleeping in multiplayer does not speed up time and is mainly used to reduce character fatigue. The appropriate settings allow you to decide whether players can sleep and whether sleep is required, which has a direct impact on balance and overall gameplay comfort on the server.
How to Enable Sleep in Project Zomboid Multiplayer (Admin Panel)
1. Join the Project Zomboid server as an admin. If you are not an admin on your server yet, use this command in the console:
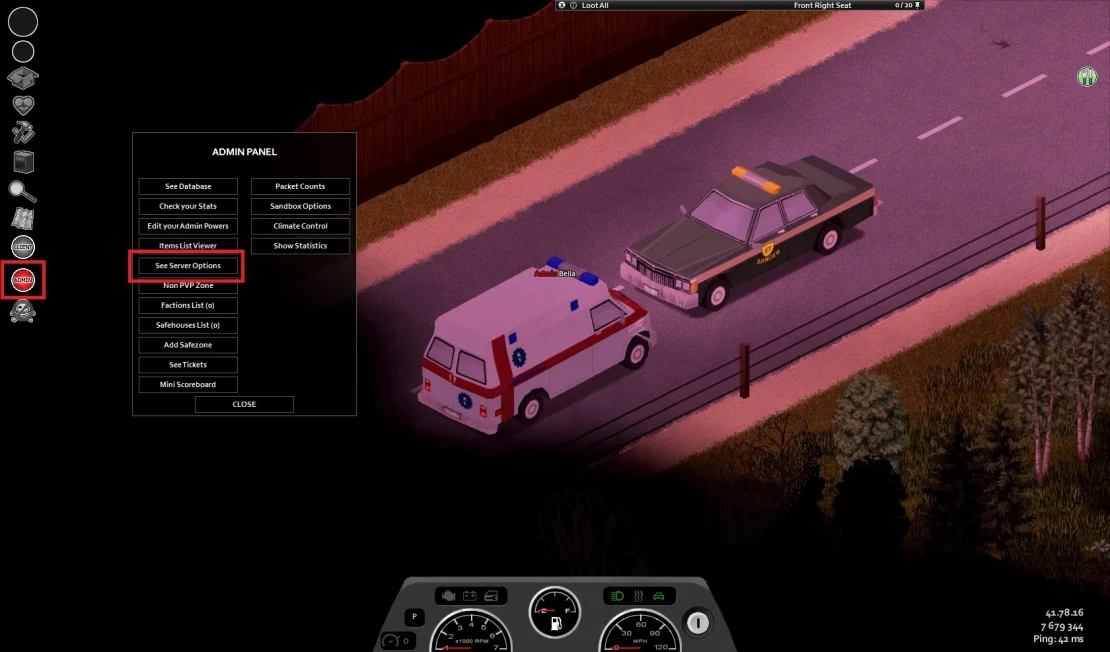
SetAccessLevel [Username] admin2. On the left side of the window, select Admin, then click See Server Options.
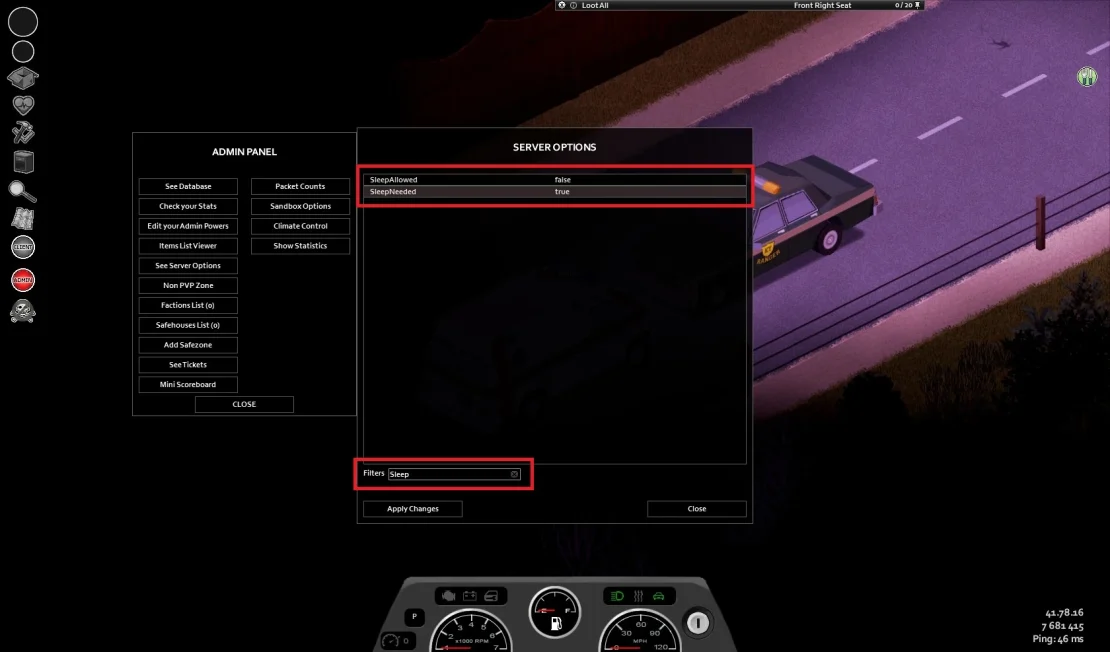
3. Once you are in the Server Options window, filter the list using the word Sleep. You will see two options: SleepAllowed and SleepNeeded.
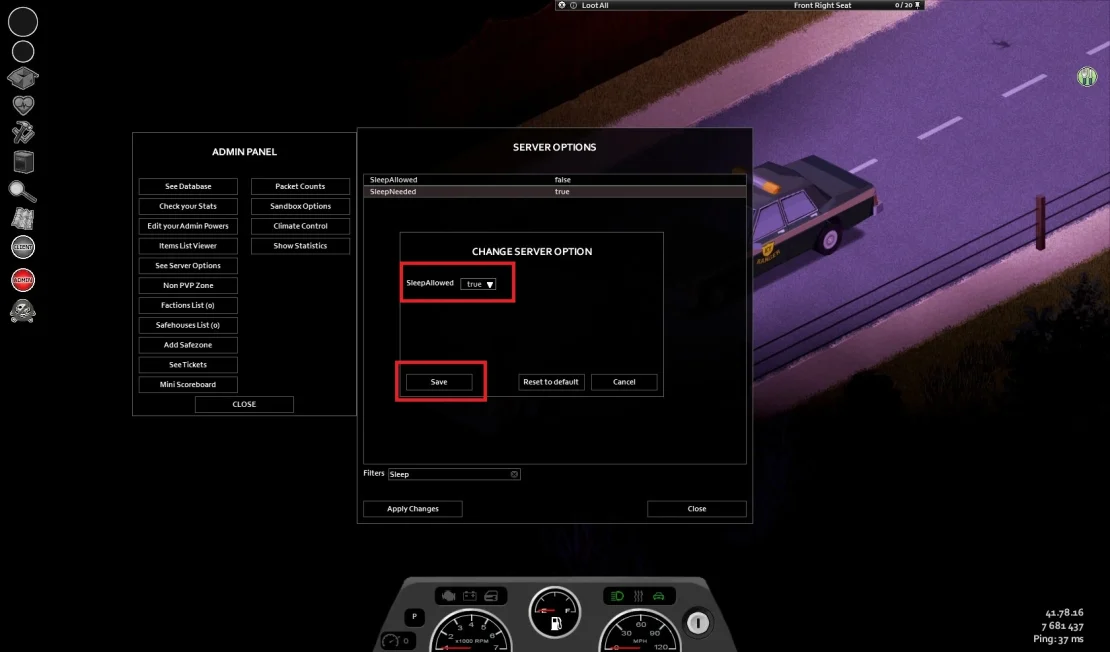
4. Set the following values for both settings:
SleepAllowed = true
SleepNeeded = true
Save changes.
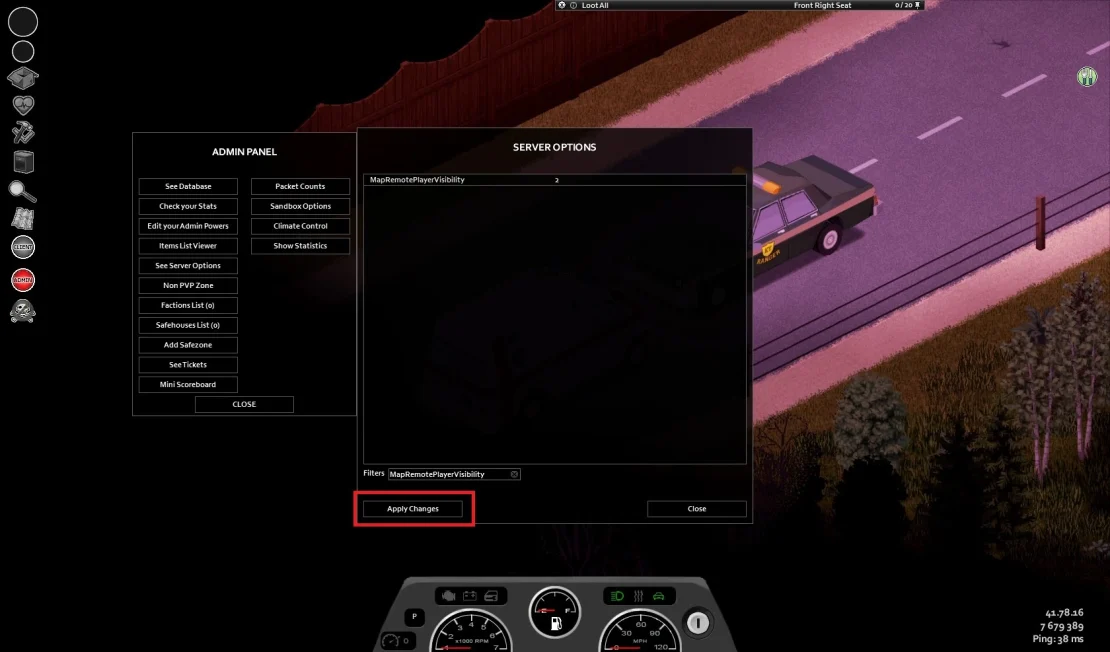
5. Click Apply Changes.
How to Enable Sleep in Project Zomboid Multiplayer (Server Settings)
1. Go to control panel and Stop your server.
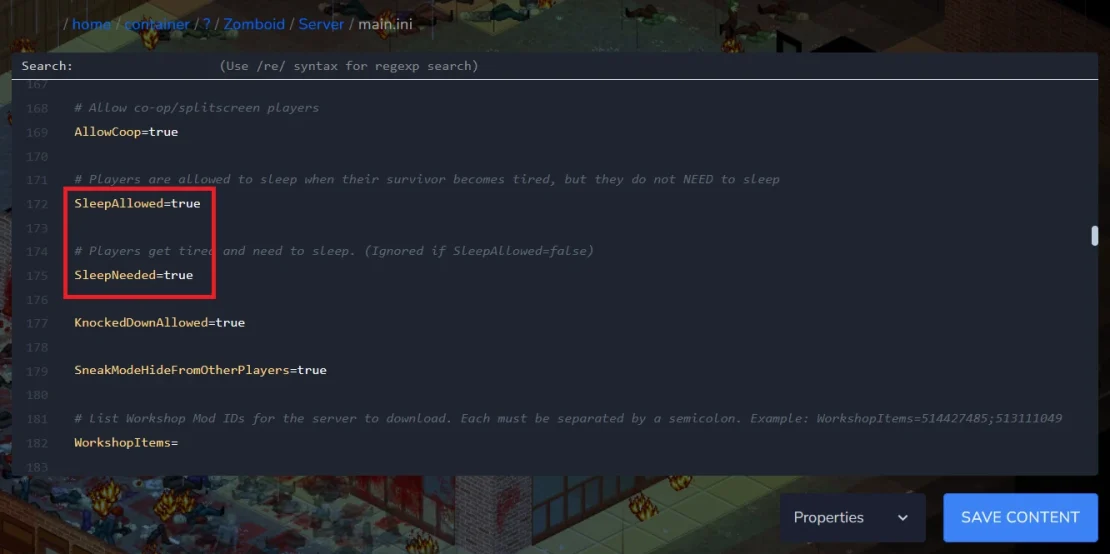
2. Go to Files and follow this path:
/home/container/?/Zomboid/Server/main.ini
3. Edit the file and find SleepAllowed = and SleepNeeded= options. Change both options to true:
SleepAllowed = true
SleepNeeded = true
4. Save the file.
5. Start server.
Managing sleep mechanics is much easier when you create your own Project Zomboid server with full access to the server configuration.
We hope that our intuitive web interface has allowed you to manage your Project Zomboid server easily. If you want to ask us any questions, feel free to contact us via e-mail, ticket or live chat!
